
A Diy Chalk Paint Project
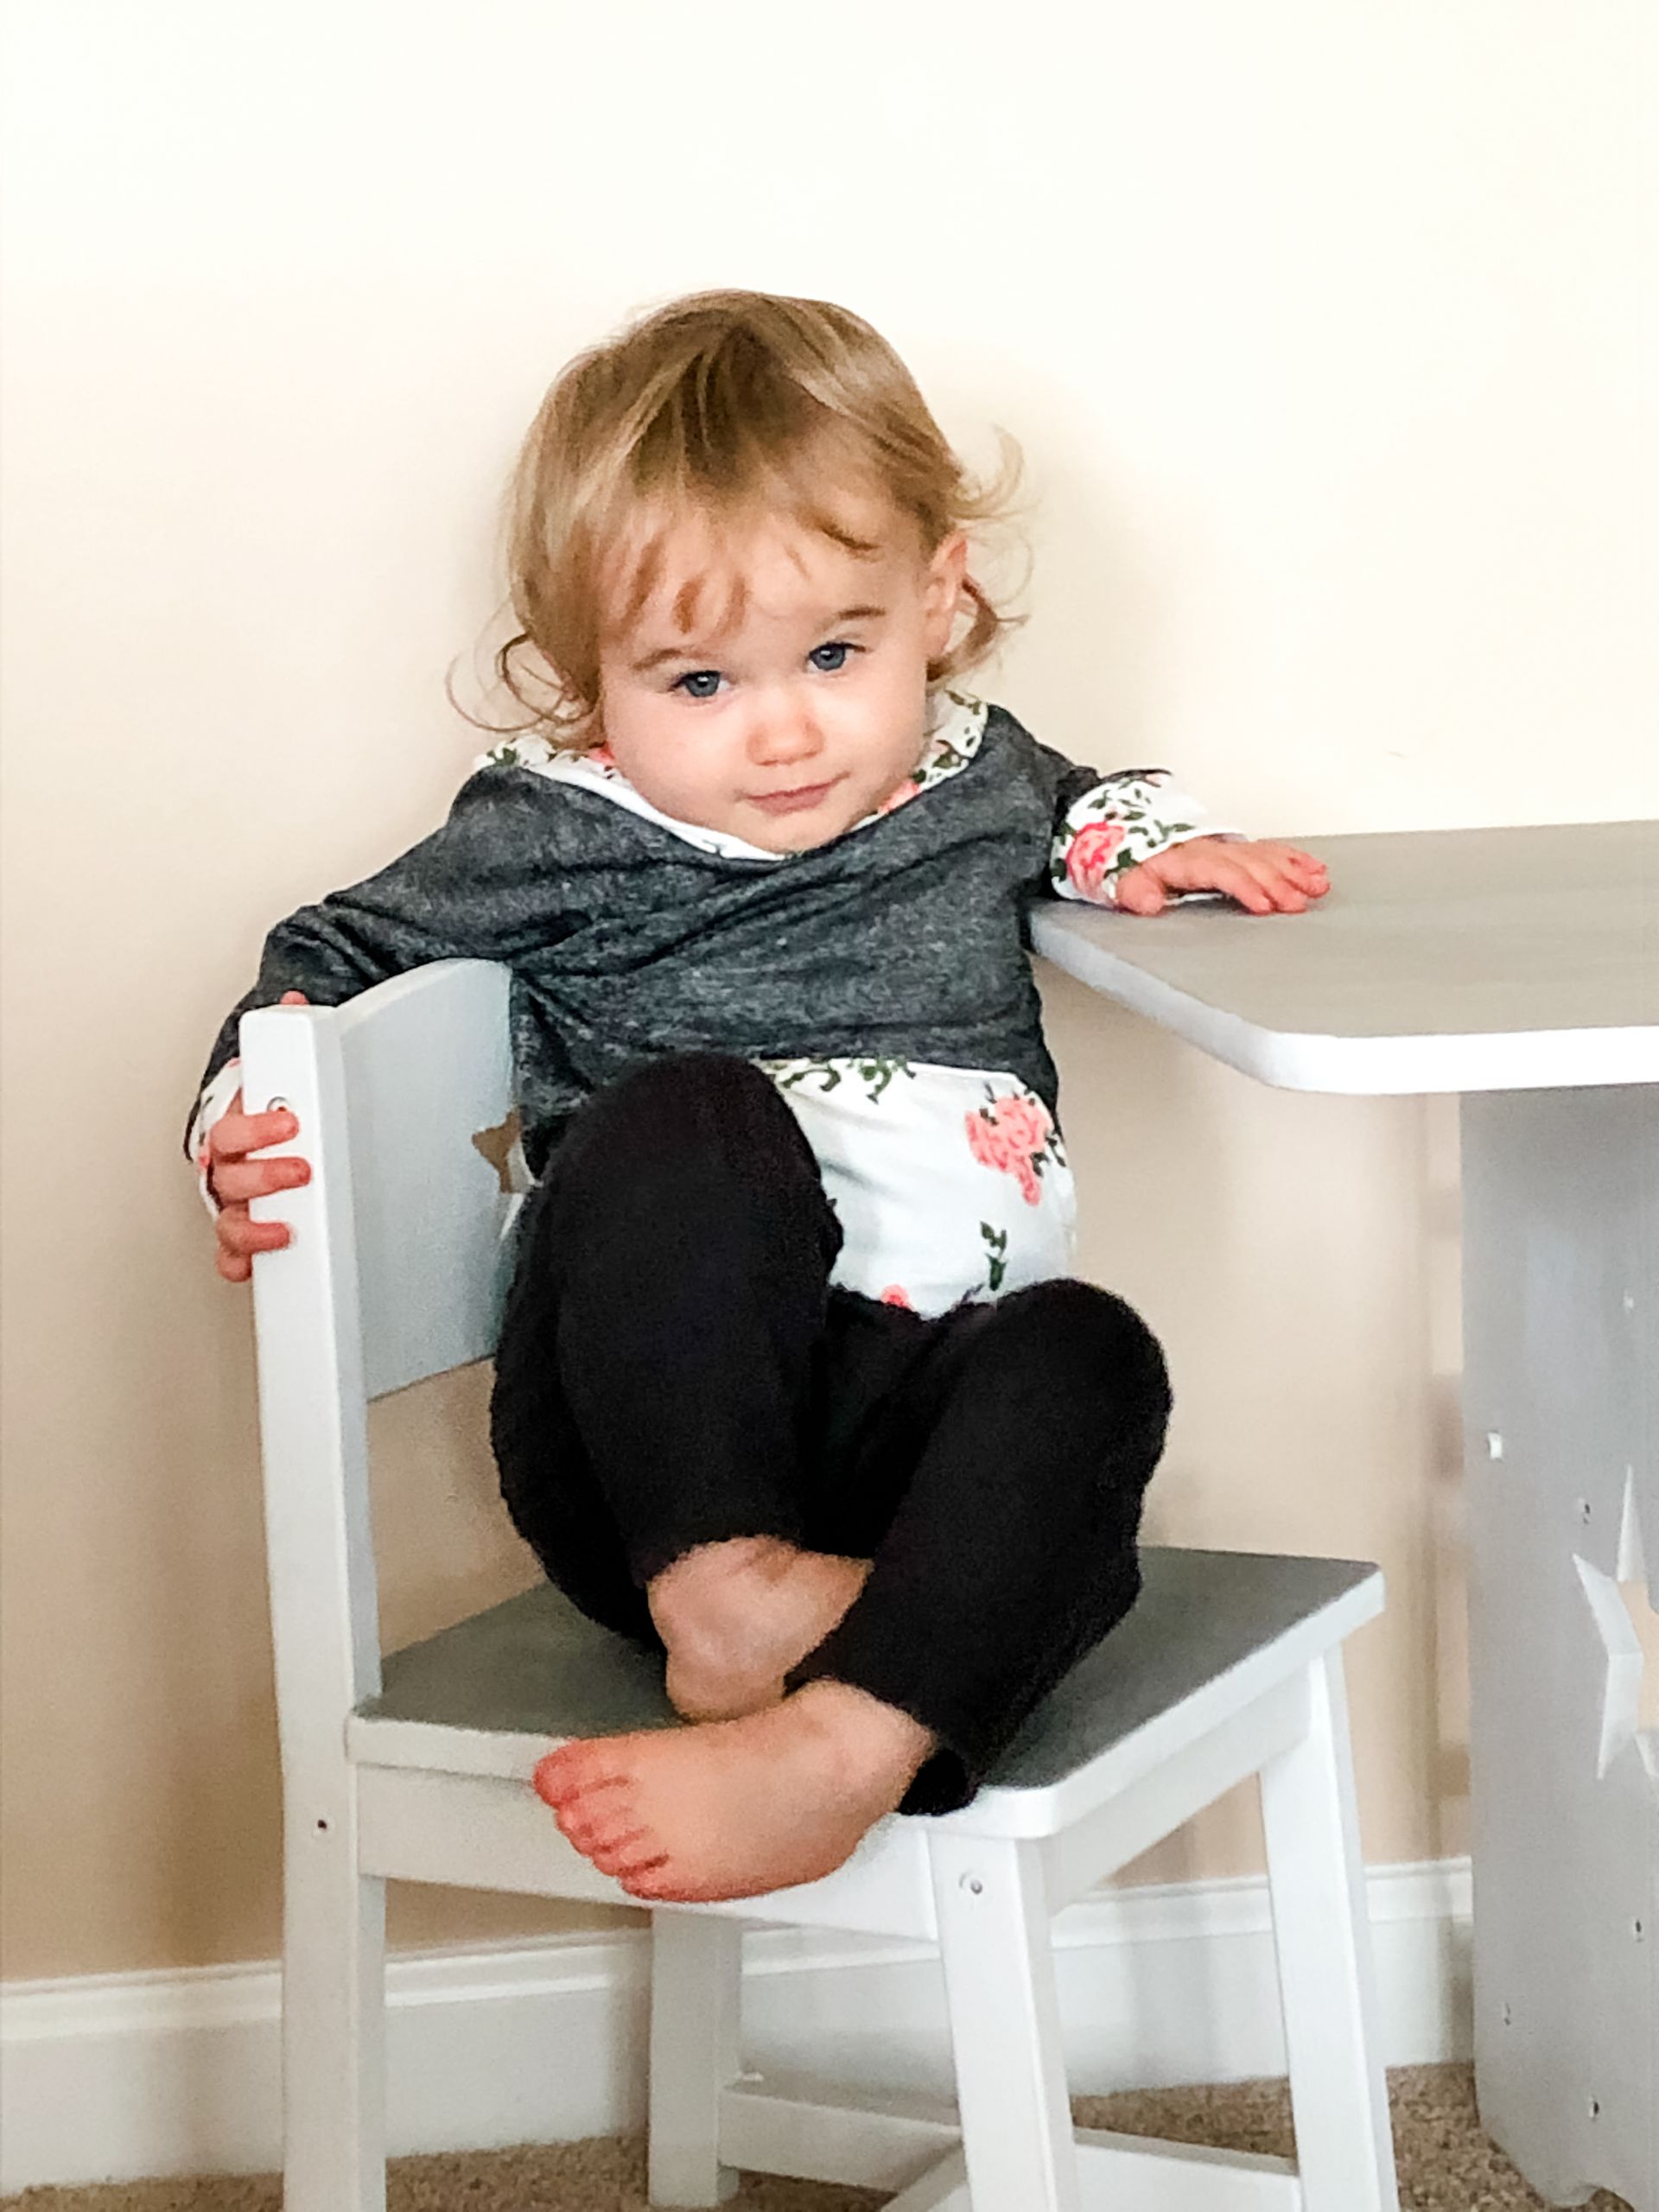
When we moved into our townhouse last year, one of the things I really wanted was a little kid's table and chairs for our daughter. I spent over a month looking for a cheaper alternative to the PotteryBarn Kids table I found, but I didn’t love anything as much as the PBK version.
A few weeks later I was at Goodwill dropping off boxes and thought, I’ll just stop in and see what they have.
Would you believe it, there was a kid's table and chairs! It was exactly what I was looking for, and everything about it was perfect, except for the color.
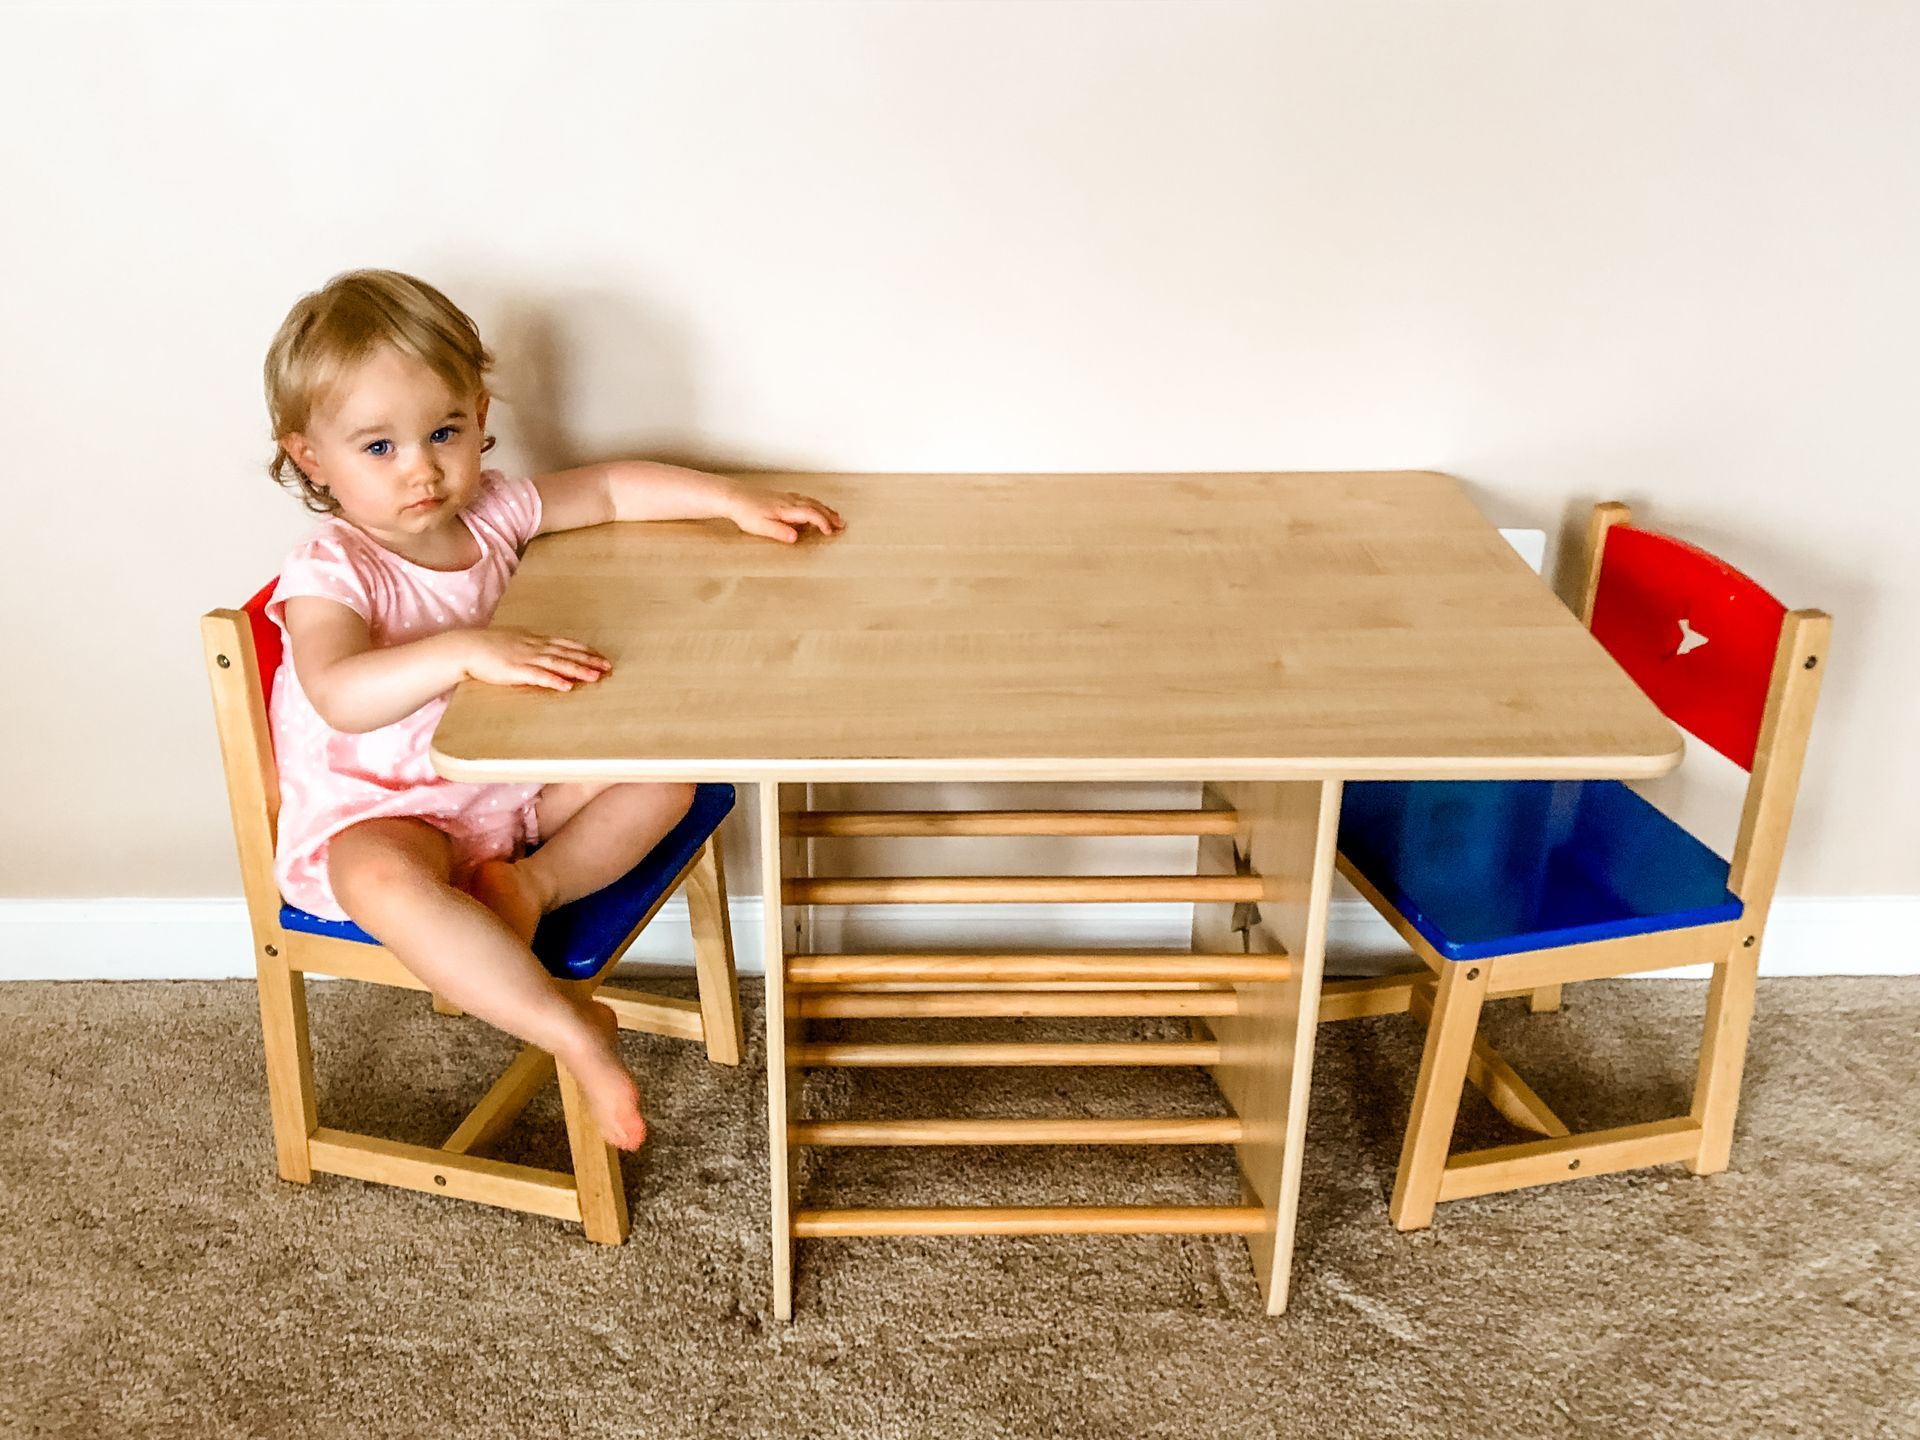
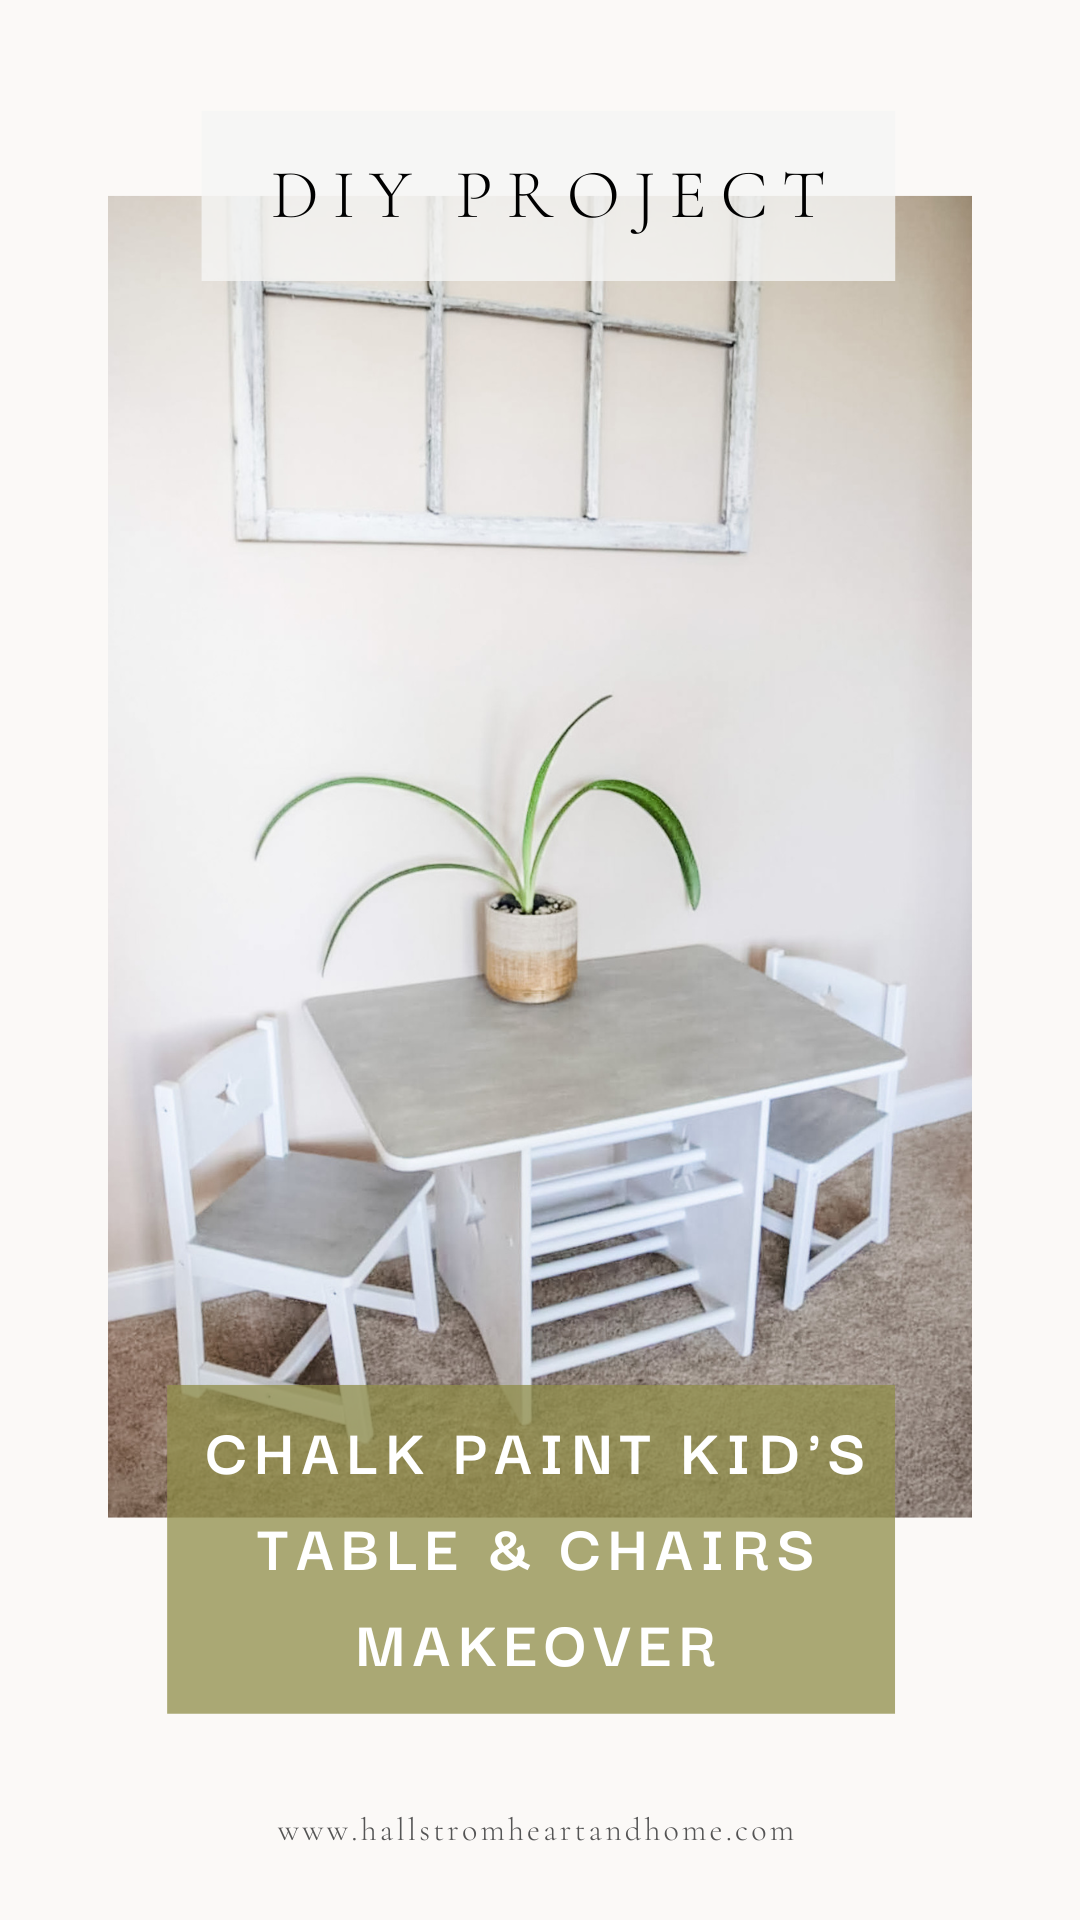
So, for $14.99 I was the proud owner of my new find. I figured I would just paint it to get the look I want, and I’m thrilled with the way it turned out. I’m also really glad I didn’t buy the expensive PBK version when this one ended up being perfect. Aren’t thrift stores the best?
What You Will Need
- Power sander, or a sanding tool
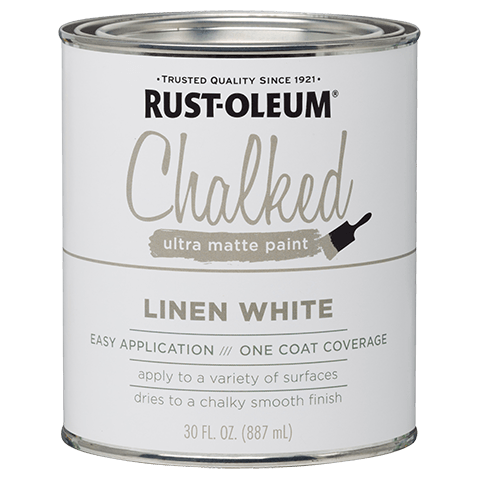
- Rustoleum chalk paint in Linen White
- Rustoleum chalked decorative glaze in smoked glaze
- Old white T-shirts, cut up into sections
- Brushes
- Polyvine wax finish varnish
Getting Started
1 – To start, I gave everything a light sanding using my power sander with 220 grit paper to sand each piece. Then I wiped each piece down to remove any sanding dust, grime, and dirt.
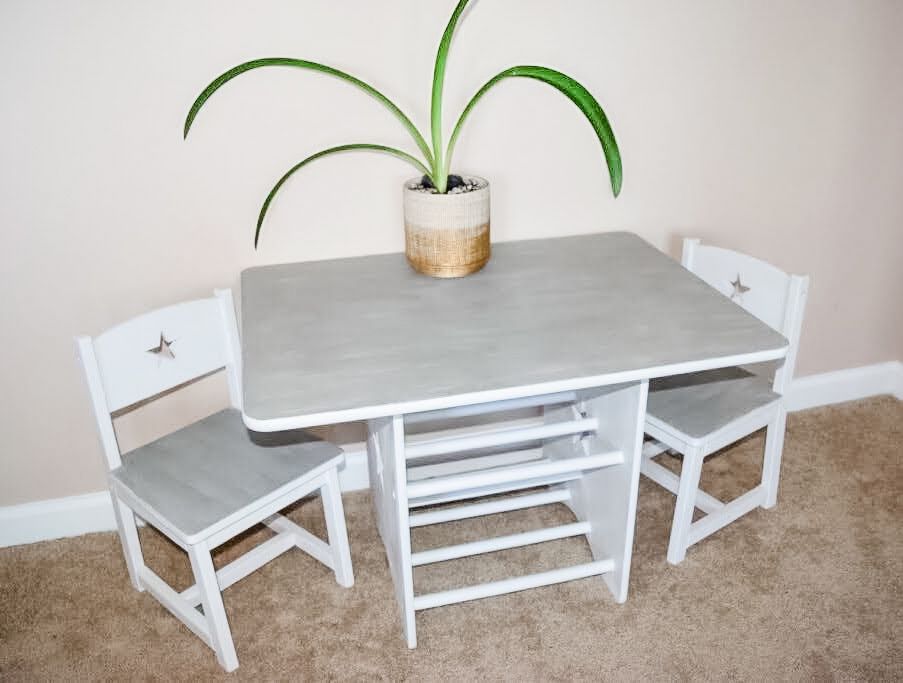
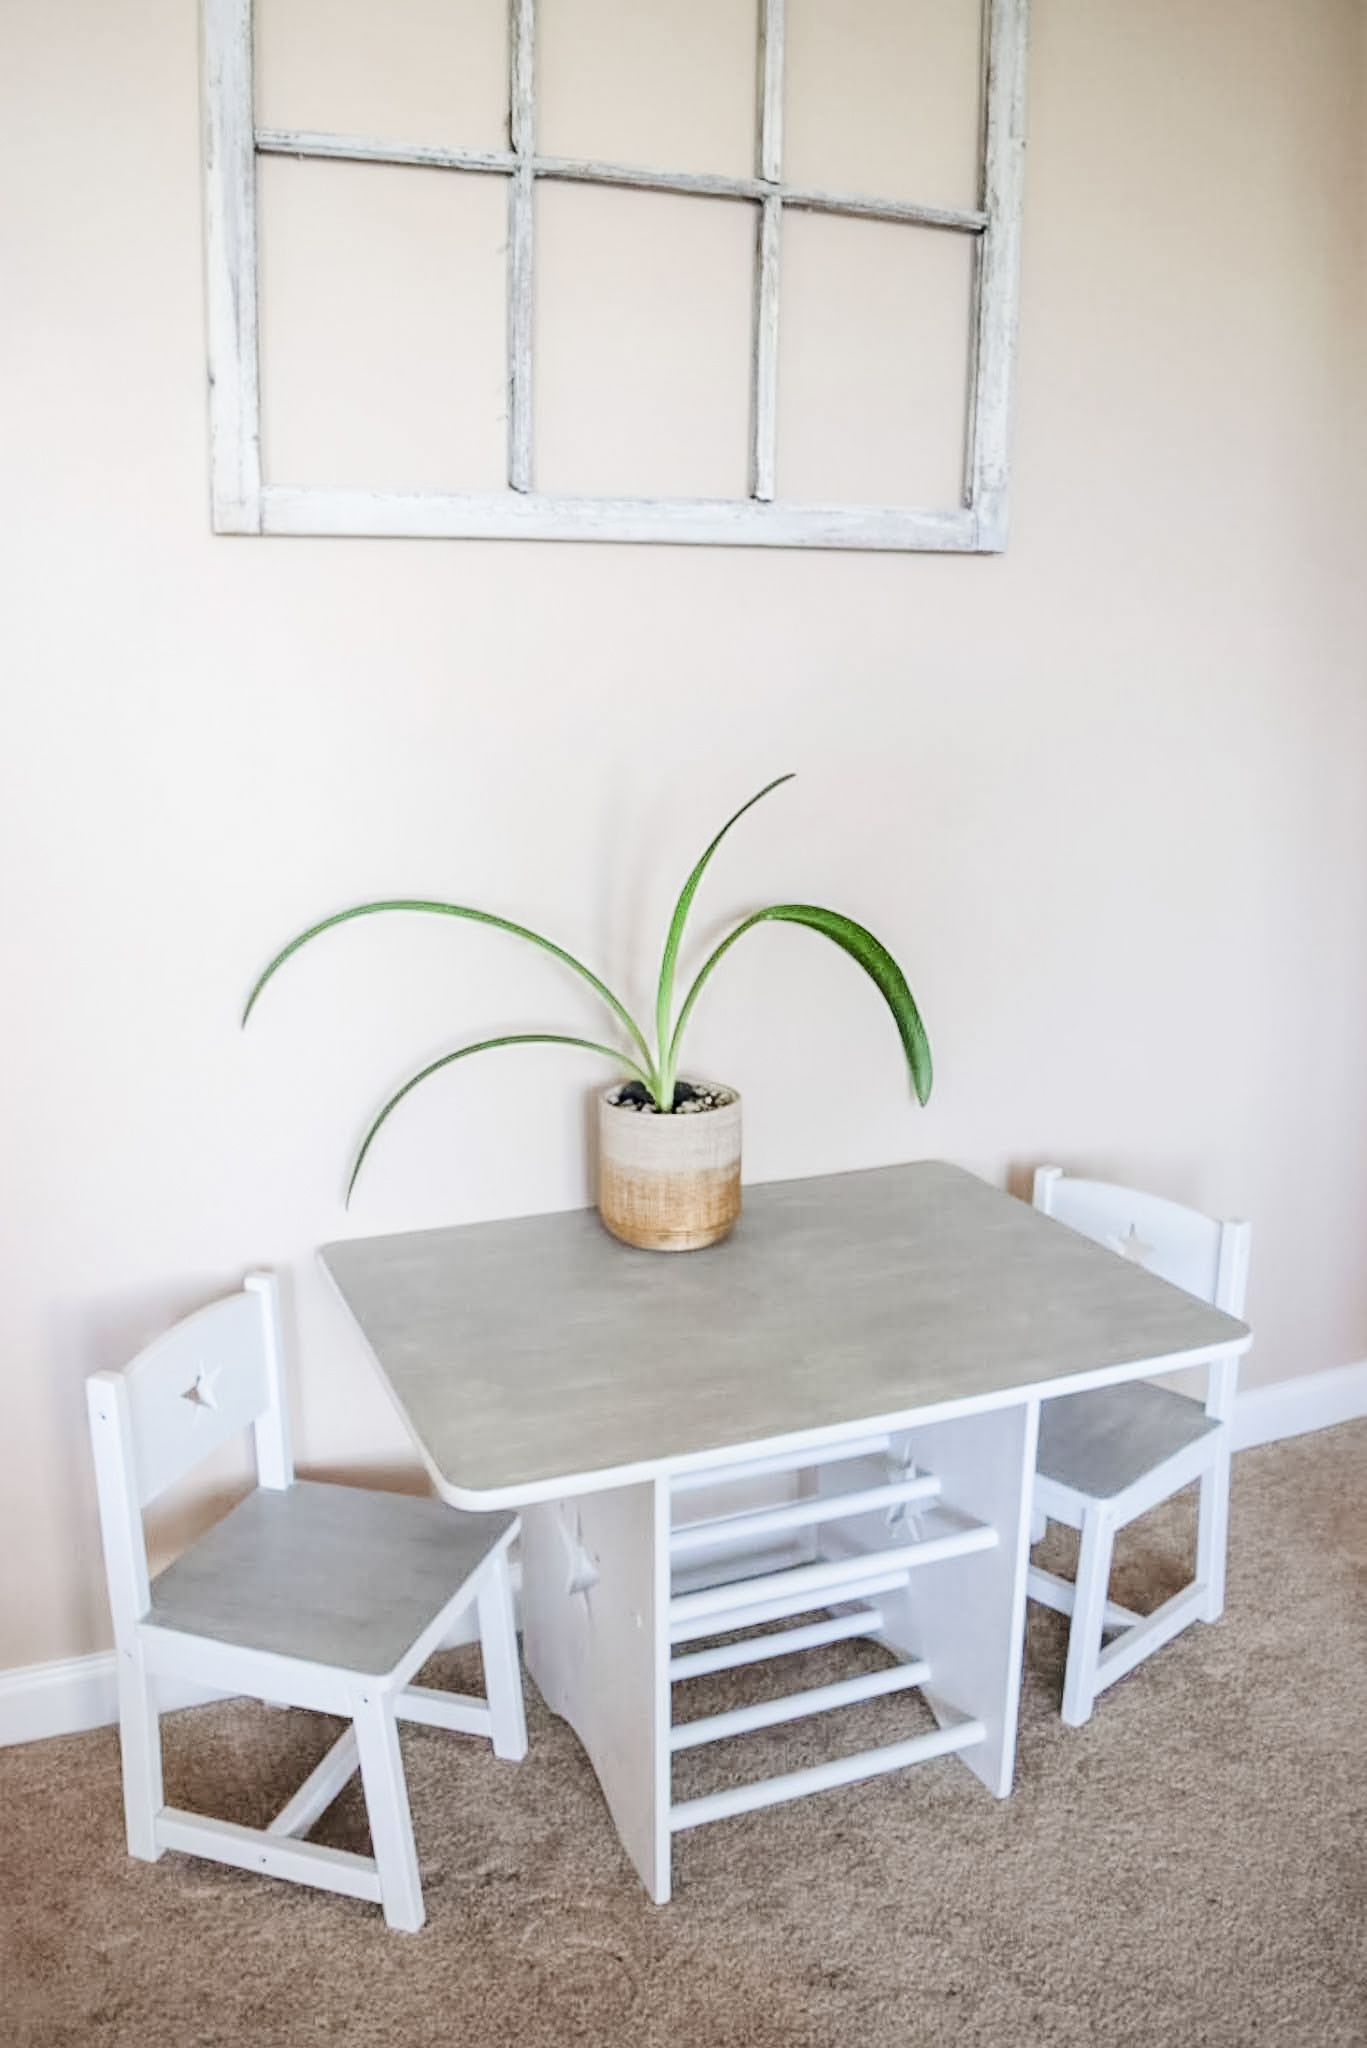
2 – After sanding and cleaning each piece, I painted the chairs and table using my chalk paint in linen white. I painted two coats of the white chalk paint, and went over any spots that seemed a little thin with a third coat.
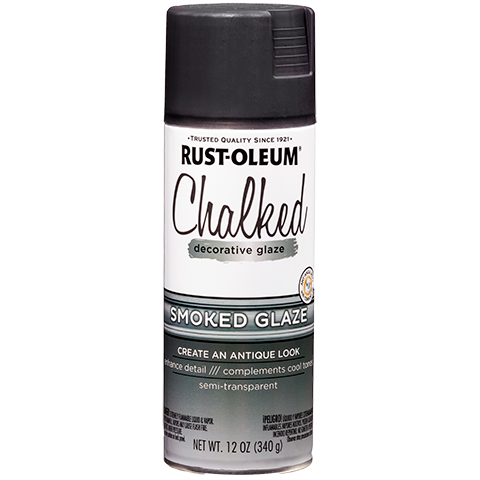

3 – Next I cut up pieces of my husband’s old white T-shirts (or you can use whatever old rags you have on hand). I sprayed a little bit of the smoked glaze on the surface, and using pieces of the rag, I wiped the glaze across the top until I achieved the right textured gray color. I worked in small sections, which made it easier to create the look I wanted to achieve.
I used the linen white chalk paint to tone the color down when it got too dark. And whenever I saw a really light area, I darkened it by putting the glaze onto my rag and wiping it until I achieved the right gray texture I wanted. I’m really happy I chose this route for my daughter’s table! The end result is perfect, and the color does a great job of hiding small imperfections, especially since this table receives some abuse.
4 – Finally, I used the Polyvine wax finish and brushed on 2 coats to seal the paint. The protective top coat works great and it’s easy to keep clean too.
And that’s it!
All in all, this was a quick project for me. It only took me 4 days to complete, and most of that was drying time. The decorative glaze look can be used on any piece of furniture, and I love the way it turned out. Bonus! The table looks fantastic in our living room.
Let me know if you give this technique a try! Or if you’re searching for a similar look, check out my DIY kitchen table post. It just might be what you’re looking for.
With joy, Jessica
Please note that this blog post includes affiliate links from Amazon. If you do choose to purchase something, I may earn a small commission – at no additional cost to you. All thoughts and opinions expressed in this post are entirely my own. Thank you for your support!


Follow along
For encouraging words and to read what the Lord is saying to me lately