
I was bringing the recycle out to the dumpster one day at our old apartment, and I found a trunk someone was throwing out. I ran back upstairs and told my husband he just had to get it for me. Pretty sure he didn’t think it was a good idea at the time (someone else’s trash and all that)…but I’m glad I made him do it.
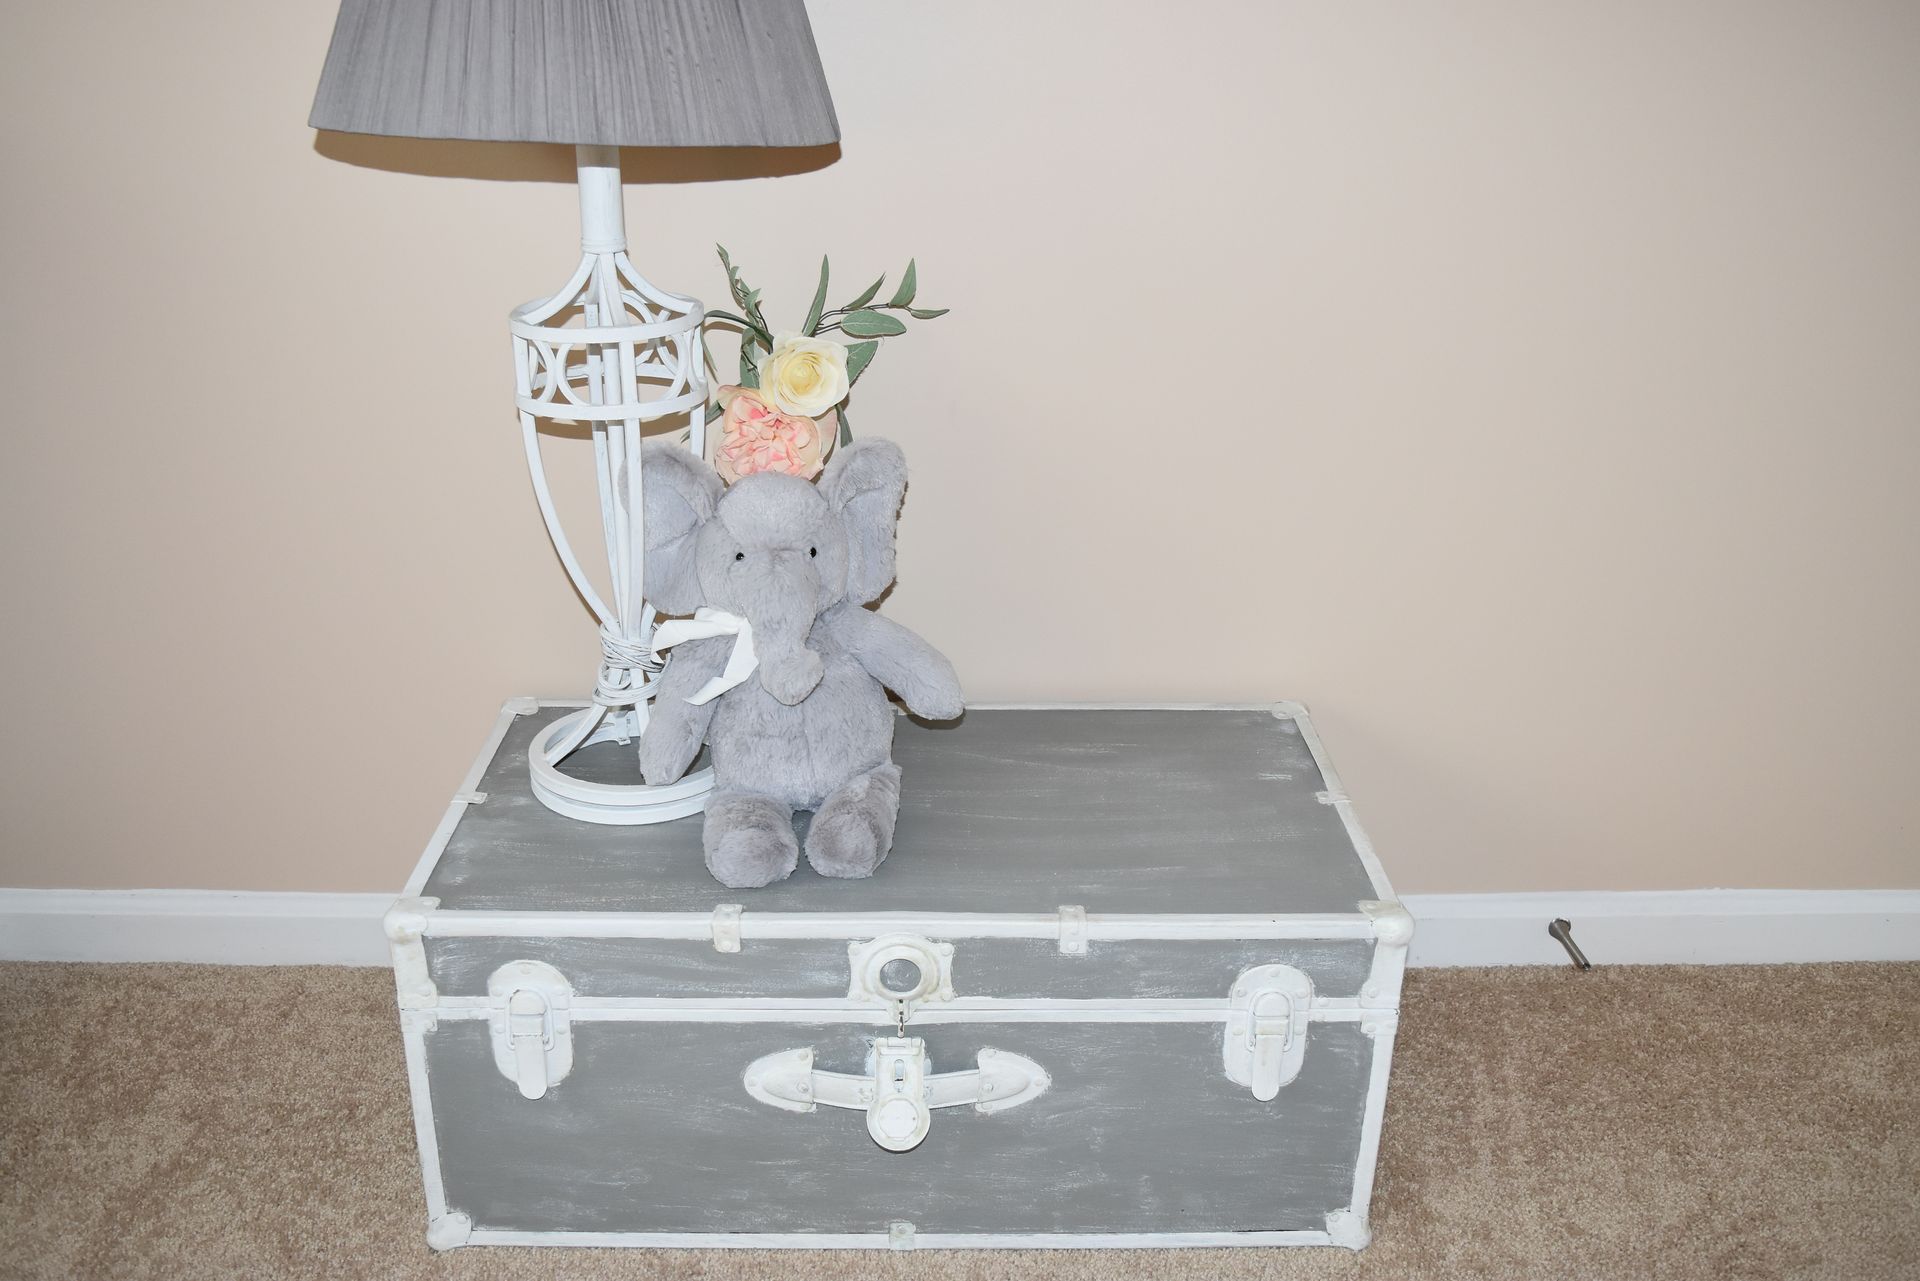
I transformed that old trunk into a a darling toy box for my daughter’s room. Bonus, it holds all those old toys we don’t want her to know we have anymore. You know which ones I’m talking about.

And this project required no sanding, which is awesome. All I did was paint it and put a finish on at the end. Super simple!
What You Will Need
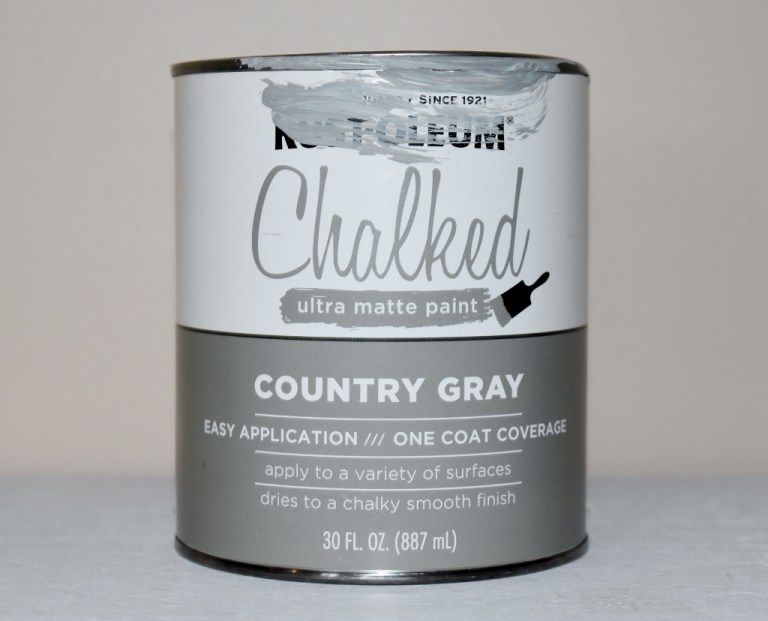
- Rustoleum chalk paint in Linen White & Country Gray (see picture below!)
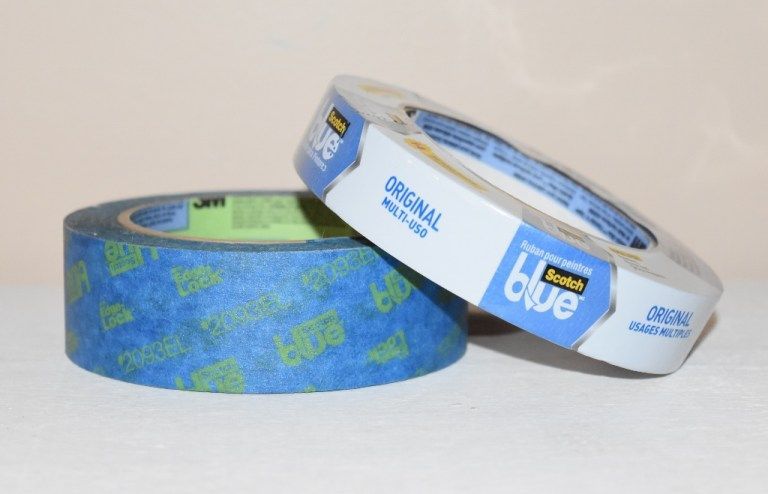
- Painter’s tape
- Brushes
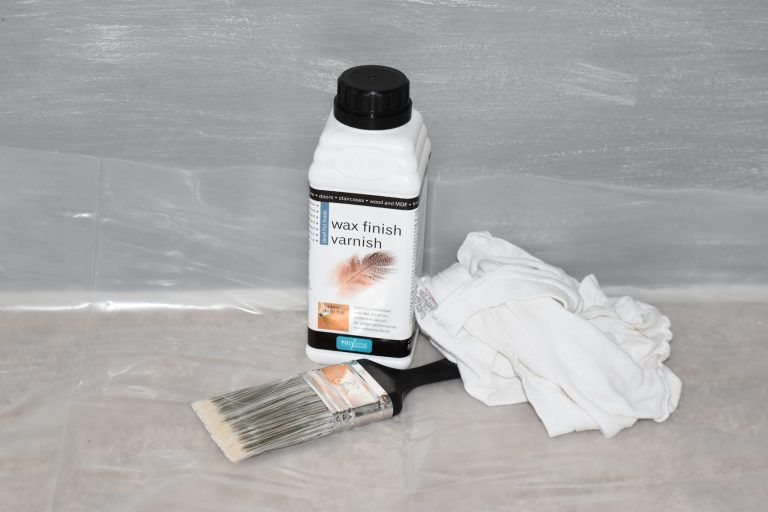
- Polyvine wax finish varnish

Let's Get Started!
1 – First off, I wiped the trunk with soap and water to clean it. And since we picked it up from the trash, I gave it an extra wipe down just in case. Can’t be too careful.
2 – After cleaning, I painted my first coat of Country Grey and waited until it completely dried before doing a second coat. I only painted two coats and spot checked for thinner areas, adding paint where needed. (If you want to tape the handles and edges, feel free to do so. I didn’t, because I knew I would be painting those next.)
3 – Next, I taped around the edges and handles with blue painter’s tape. I tried to be as precise as possible with the tape to reduce any touchups needed at the end.
4 – On to the handles! I used two coats of paint on the handles and edges with the Linen White.
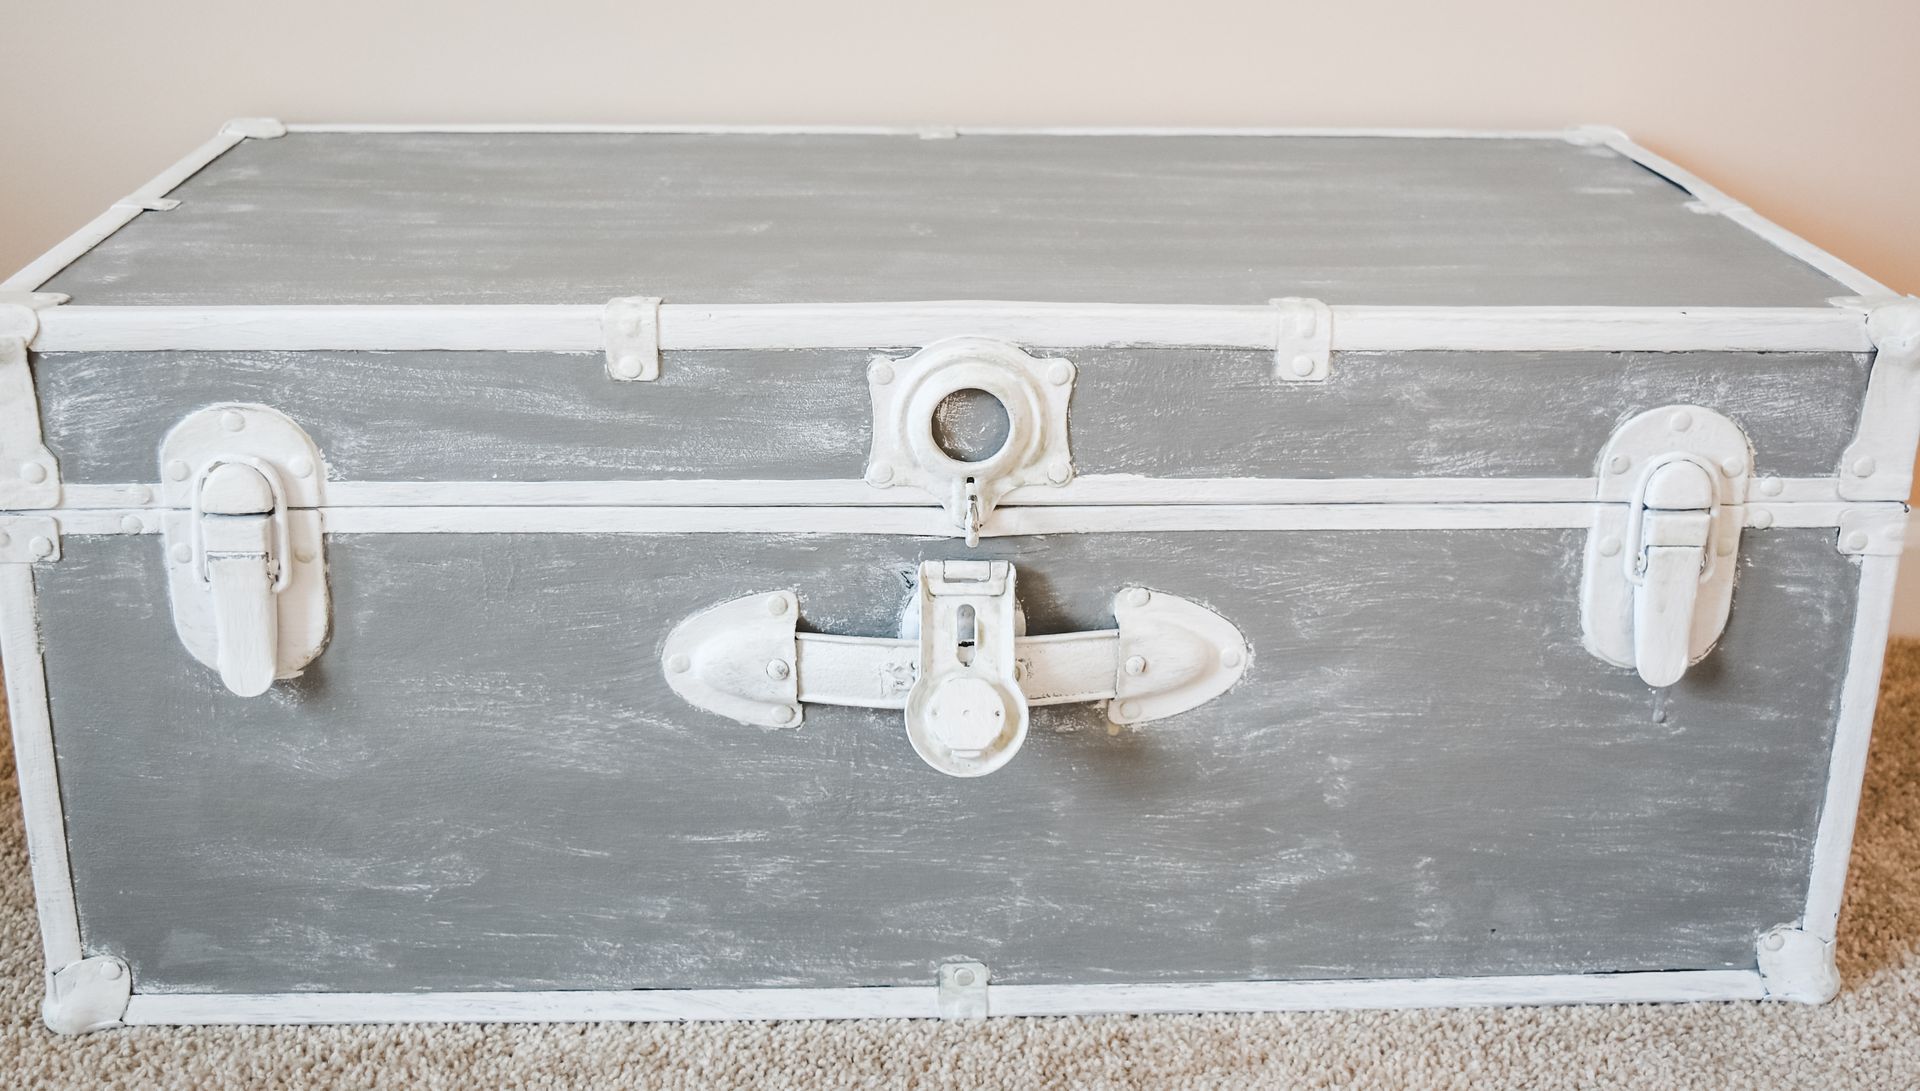
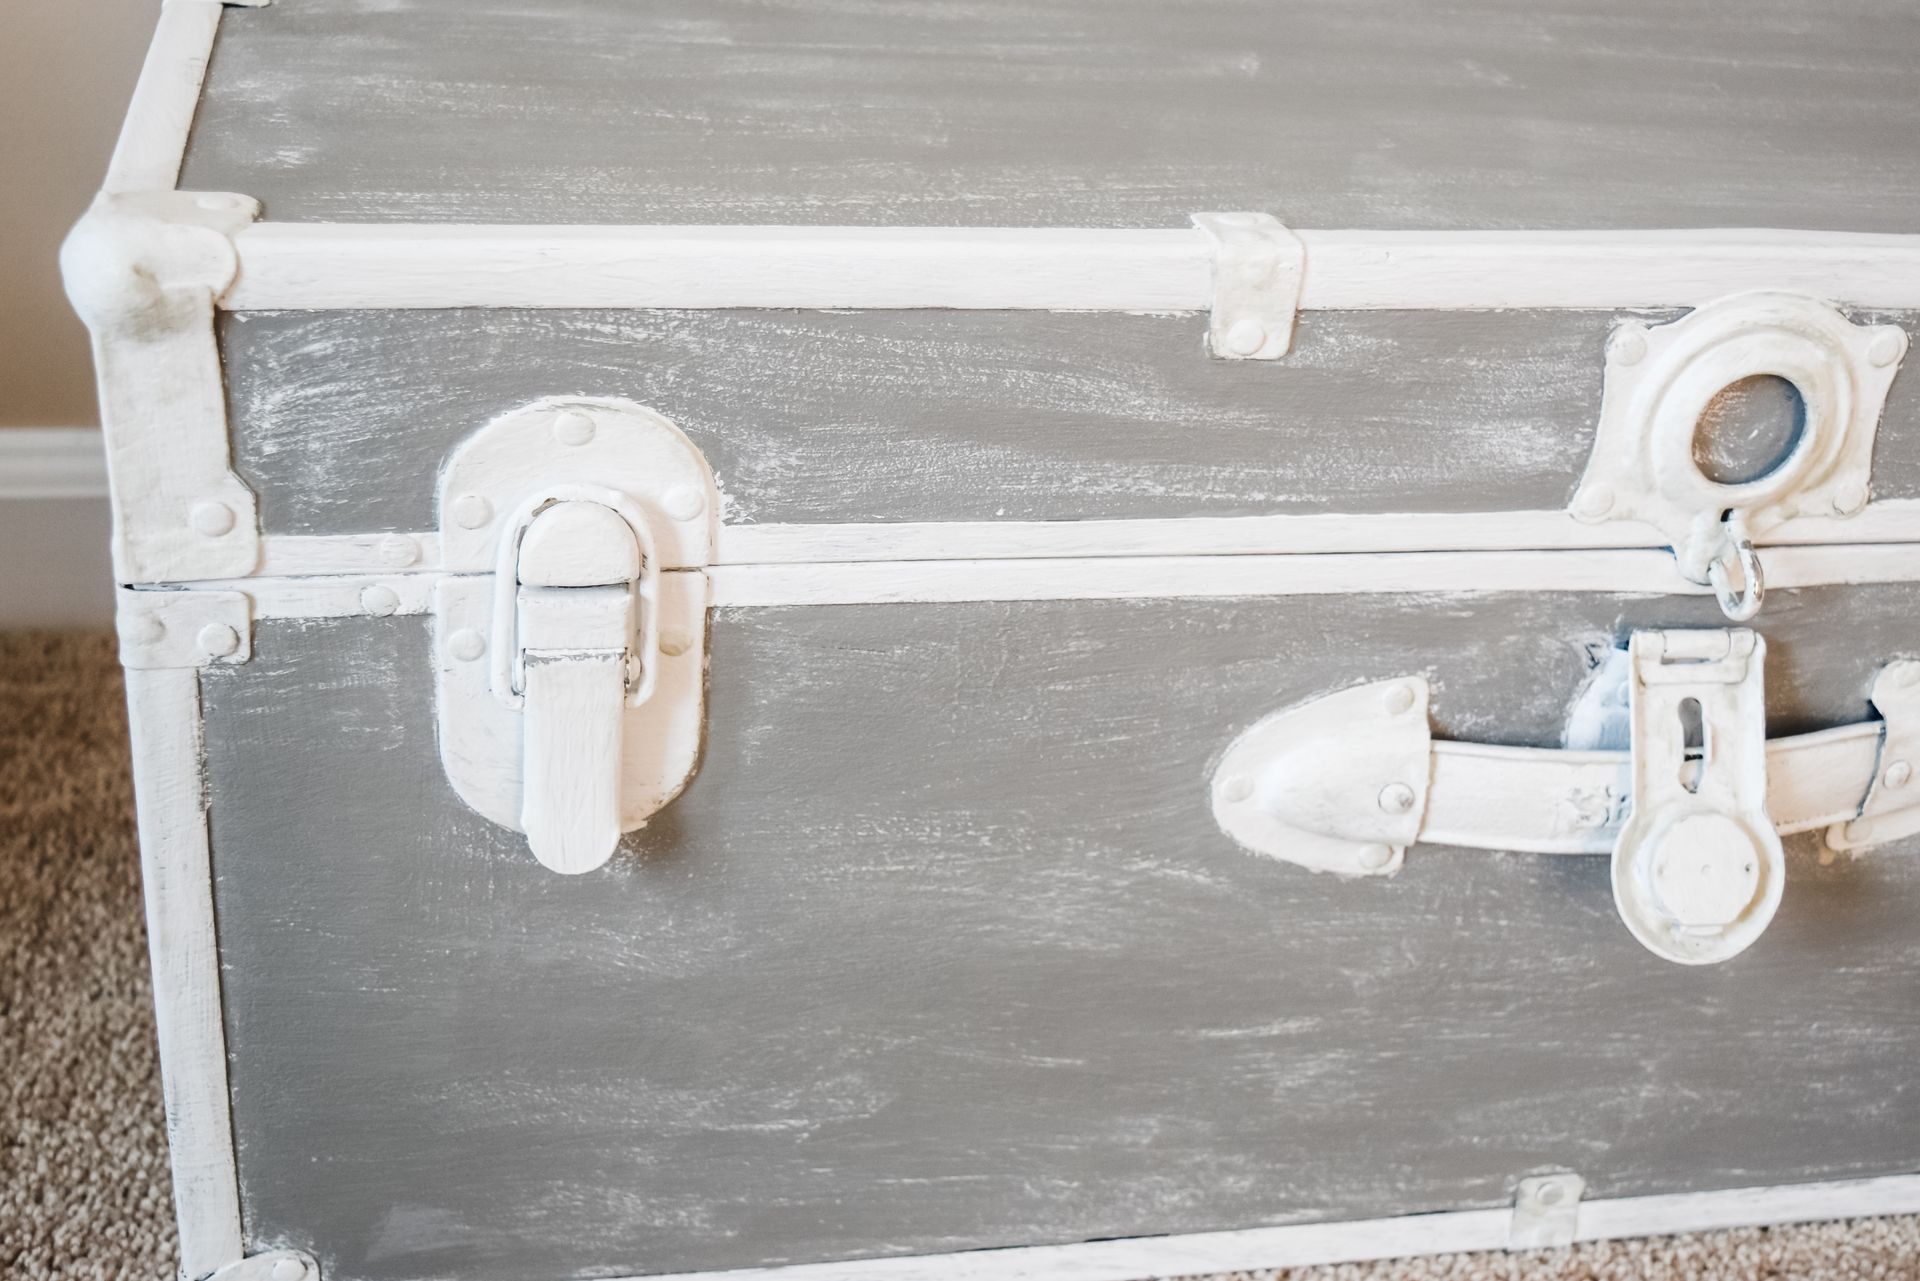
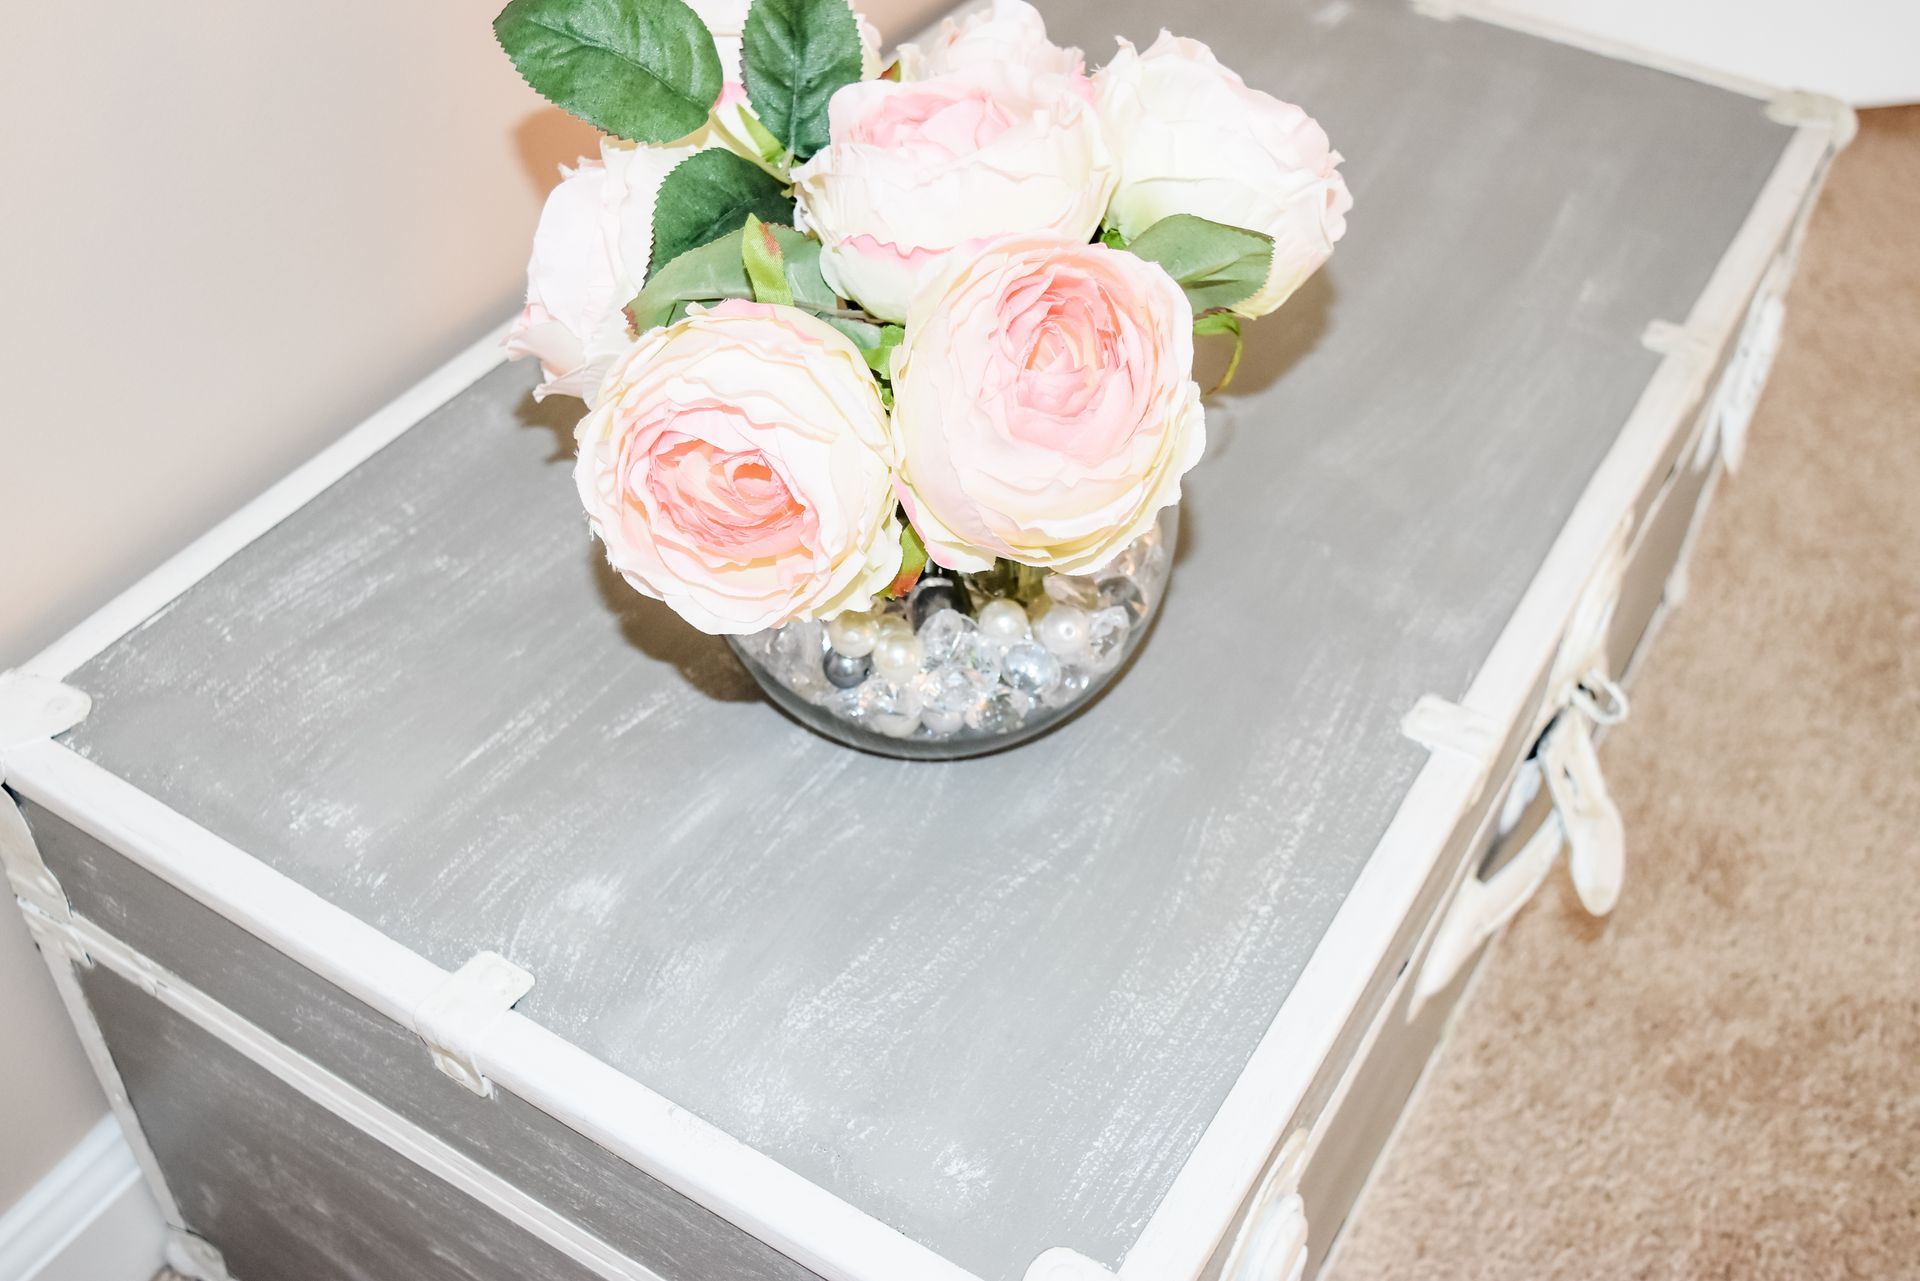
5 – Because I wanted my trunk to have a little bit of character I added some white brush strokes. I lightly dipped my brush in the white paint, removing almost all of the excess except for a small bit of paint on the end of the brush, and then ever so slightly grazed over the trunk top, bottom and sides. The white brush strokes gave the trunk an overall antique-y look and feel.
6 – Lastly, I covered the whole trunk in two coats of the Polyvine wax finish to seal the paint and finish my project.
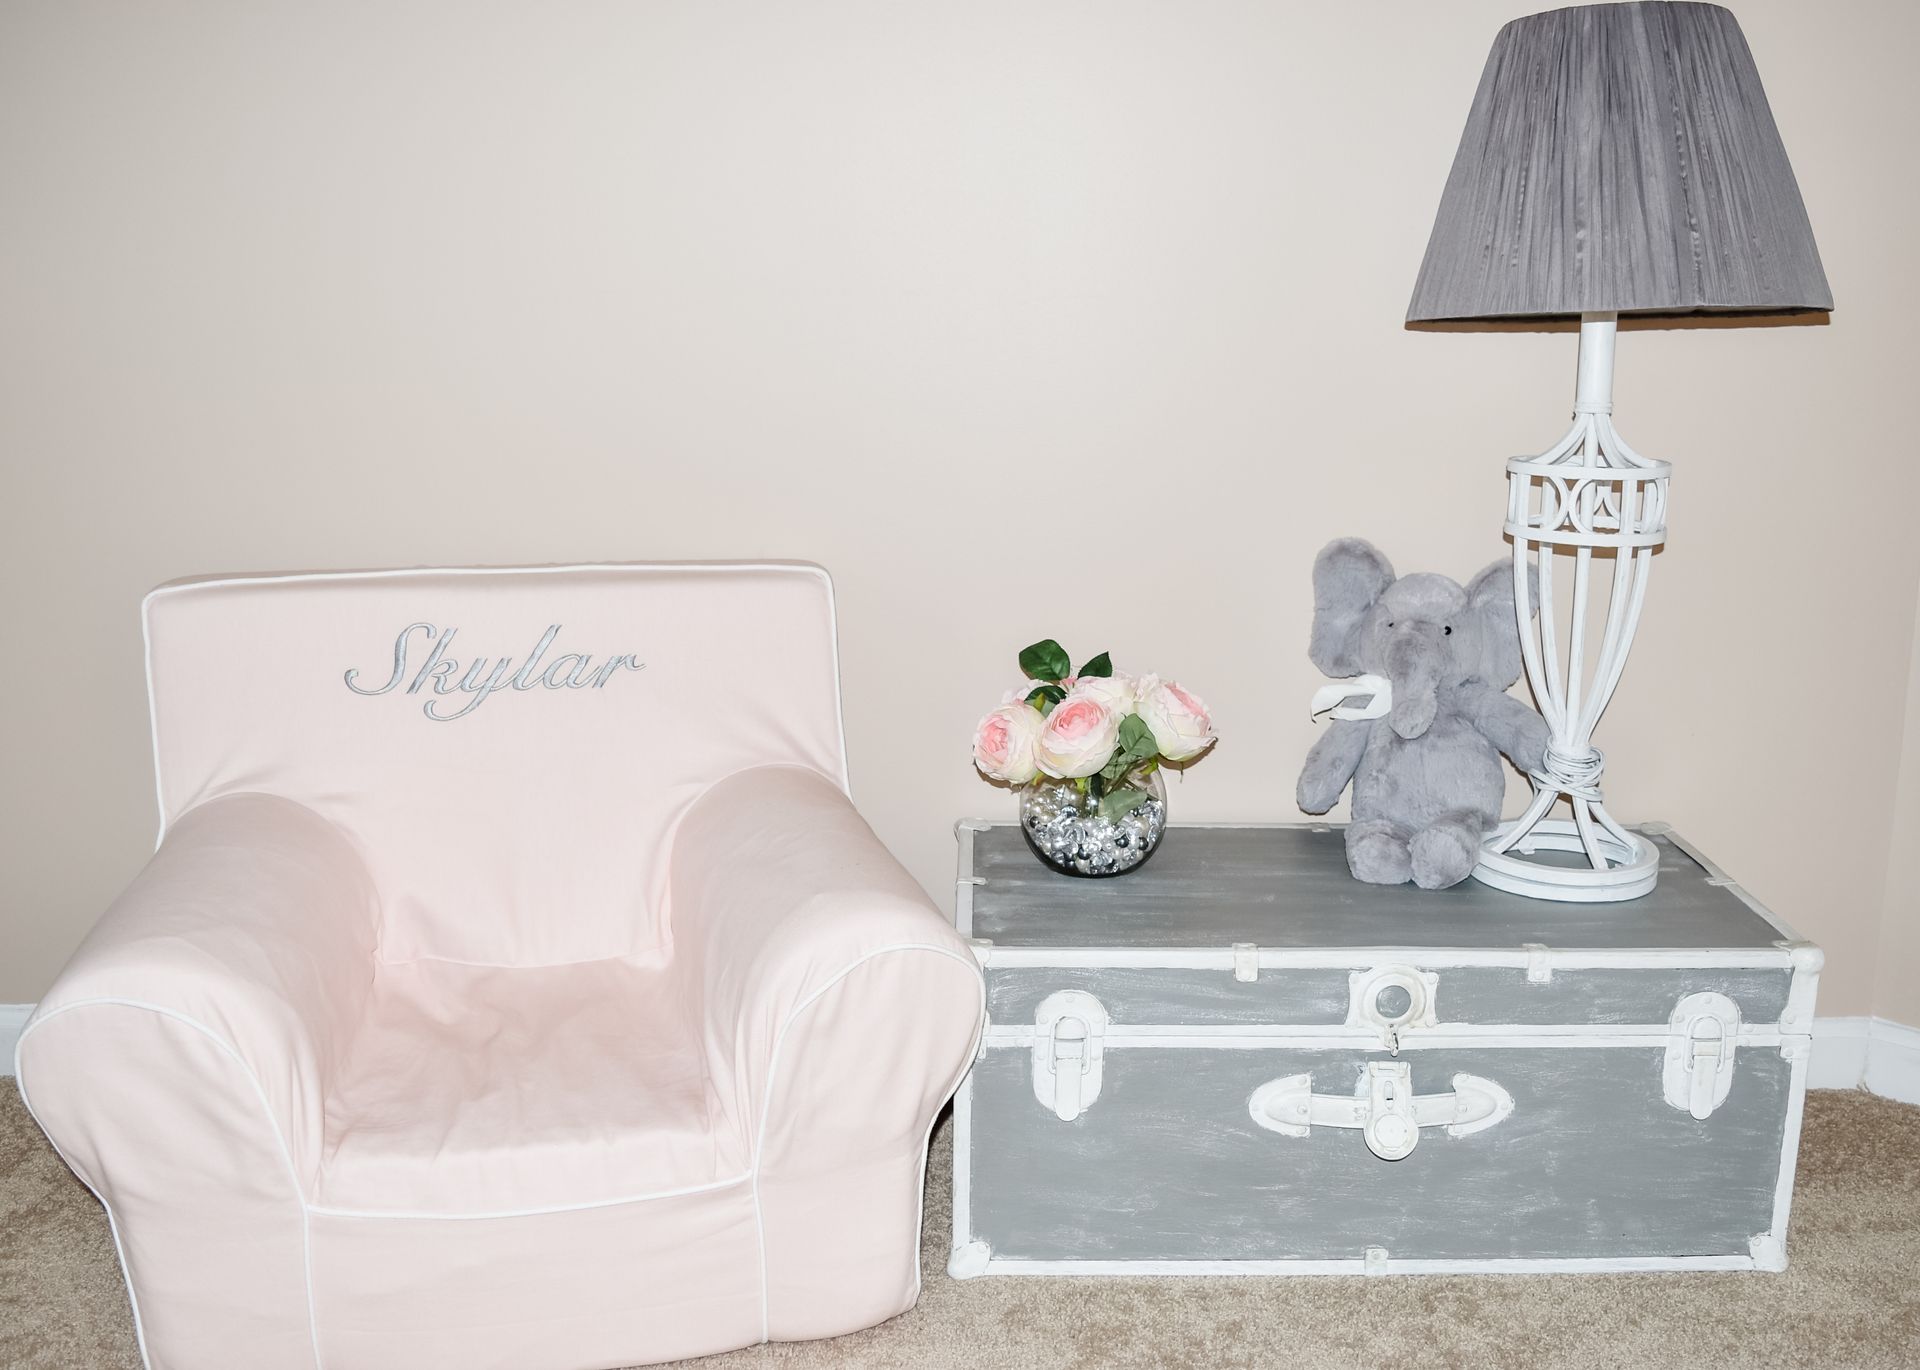
Ta-da! That’s it! Drop me a comment if you try this paint project out. And if you like this one, check out my DIY kitchen table and Kid Table Makeover posts. Follow me on Instagram and Pinterest to stay up-to-date on our latest adventures!
With joy, Jessica
Please note that this blog post includes affiliate links from Amazon. If you do choose to purchase something, I may earn a small commission – at no additional cost to you. All thoughts and opinions expressed in this post are entirely my own. Thank you for your support!


Follow along
For encouraging words and to read what the Lord is saying to me lately