
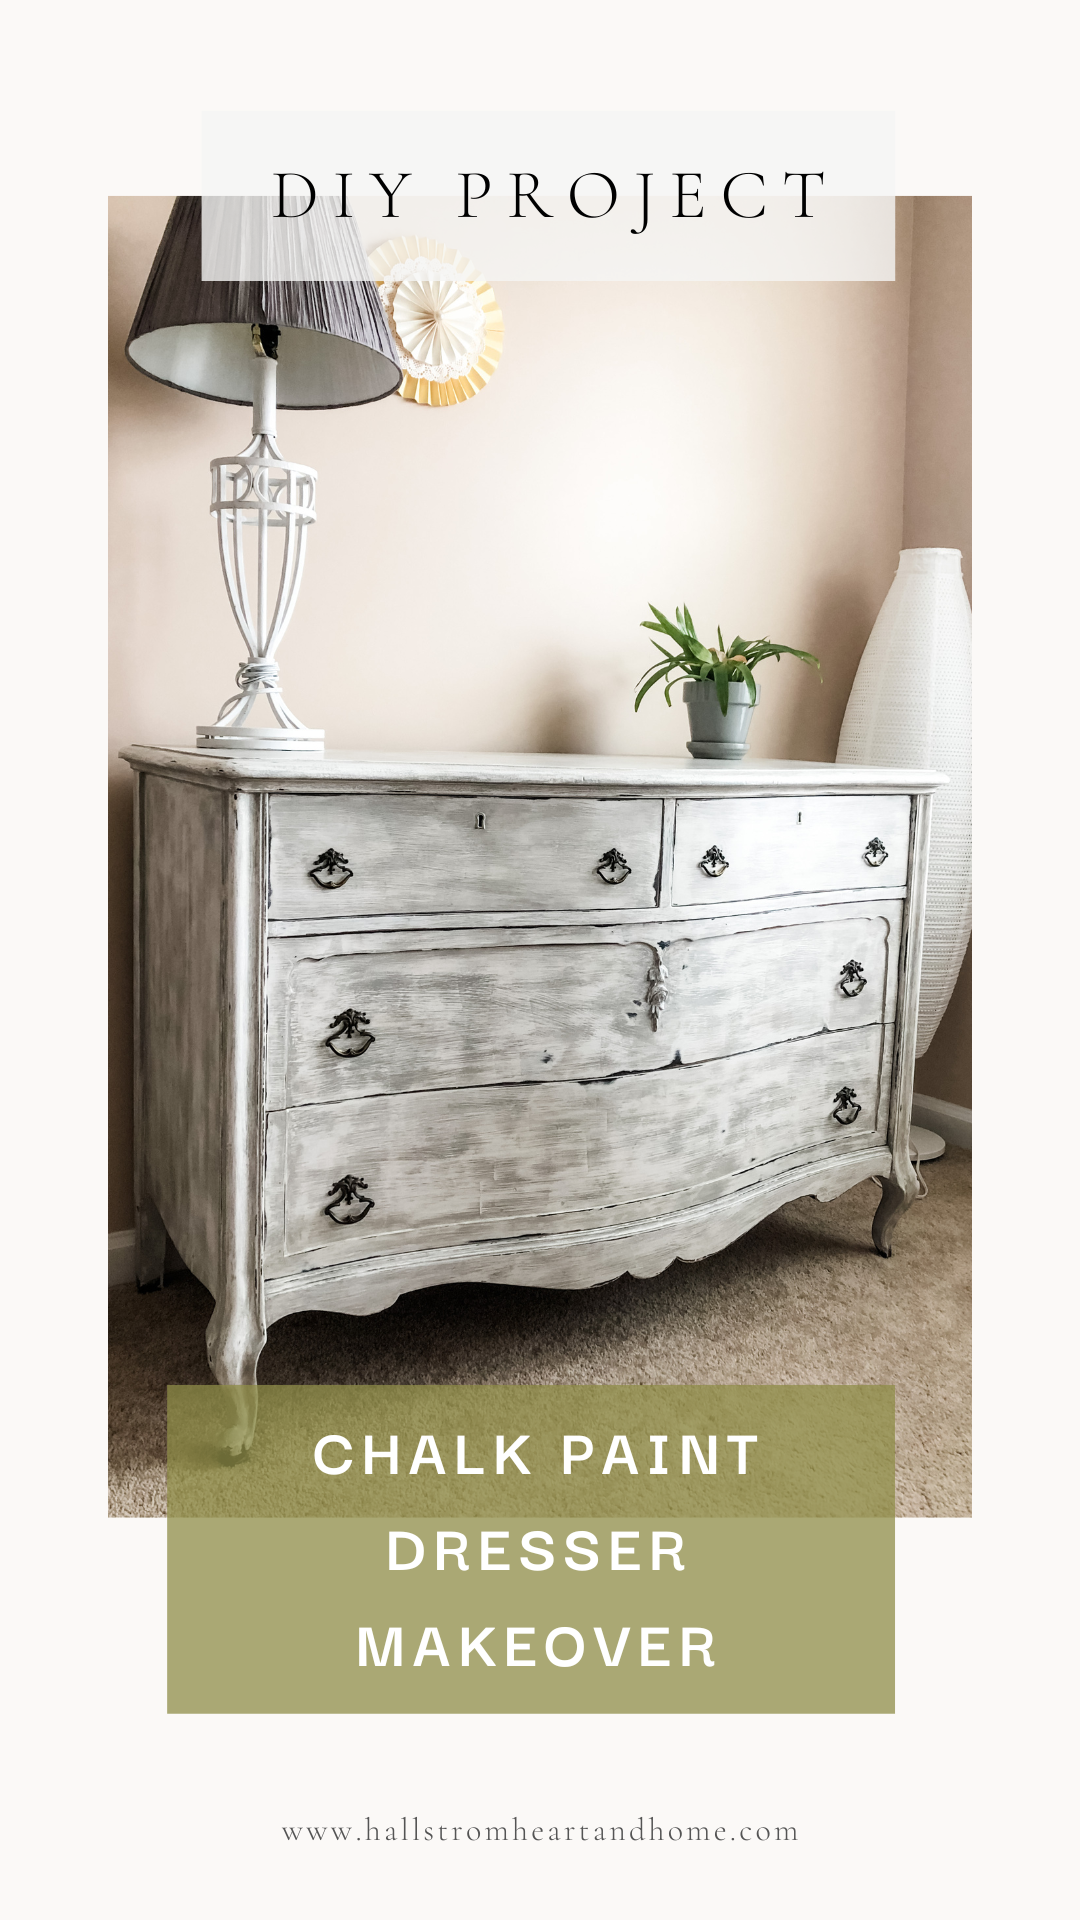
I'm in love with repurposing old furniture. I enjoy the satisfaction of taking something old and turning it into something new. If you’ve seen any of my other DIY chalk paint projects, you know it’s a passion of mine!
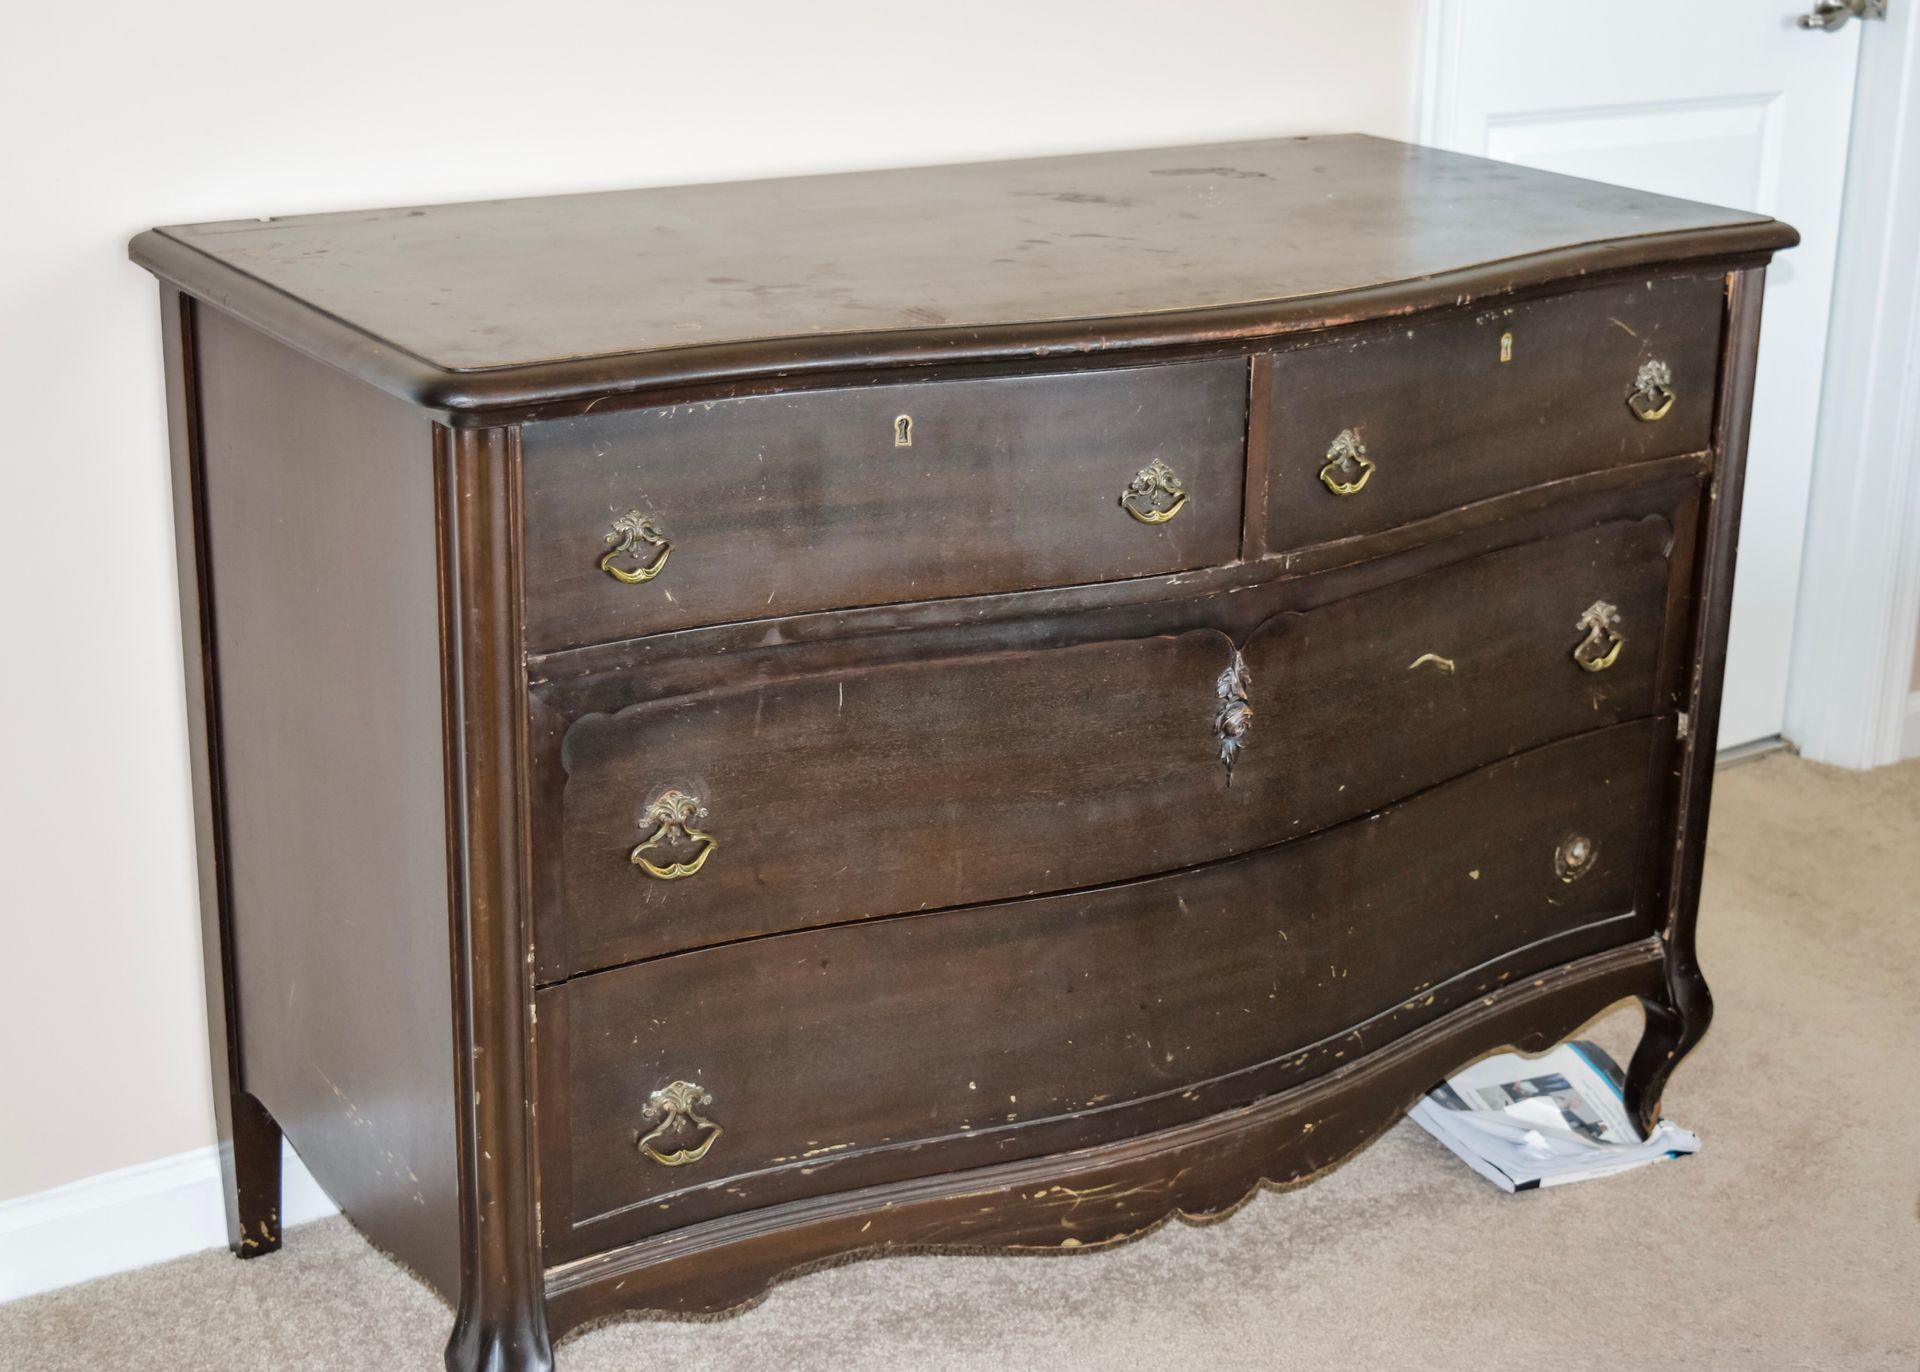
My husband inherited this old dresser from his great-aunt, and I’ve been itching to get my hands on it for years. I finally decided how I wanted it to look, and took the plunge into transforming it.
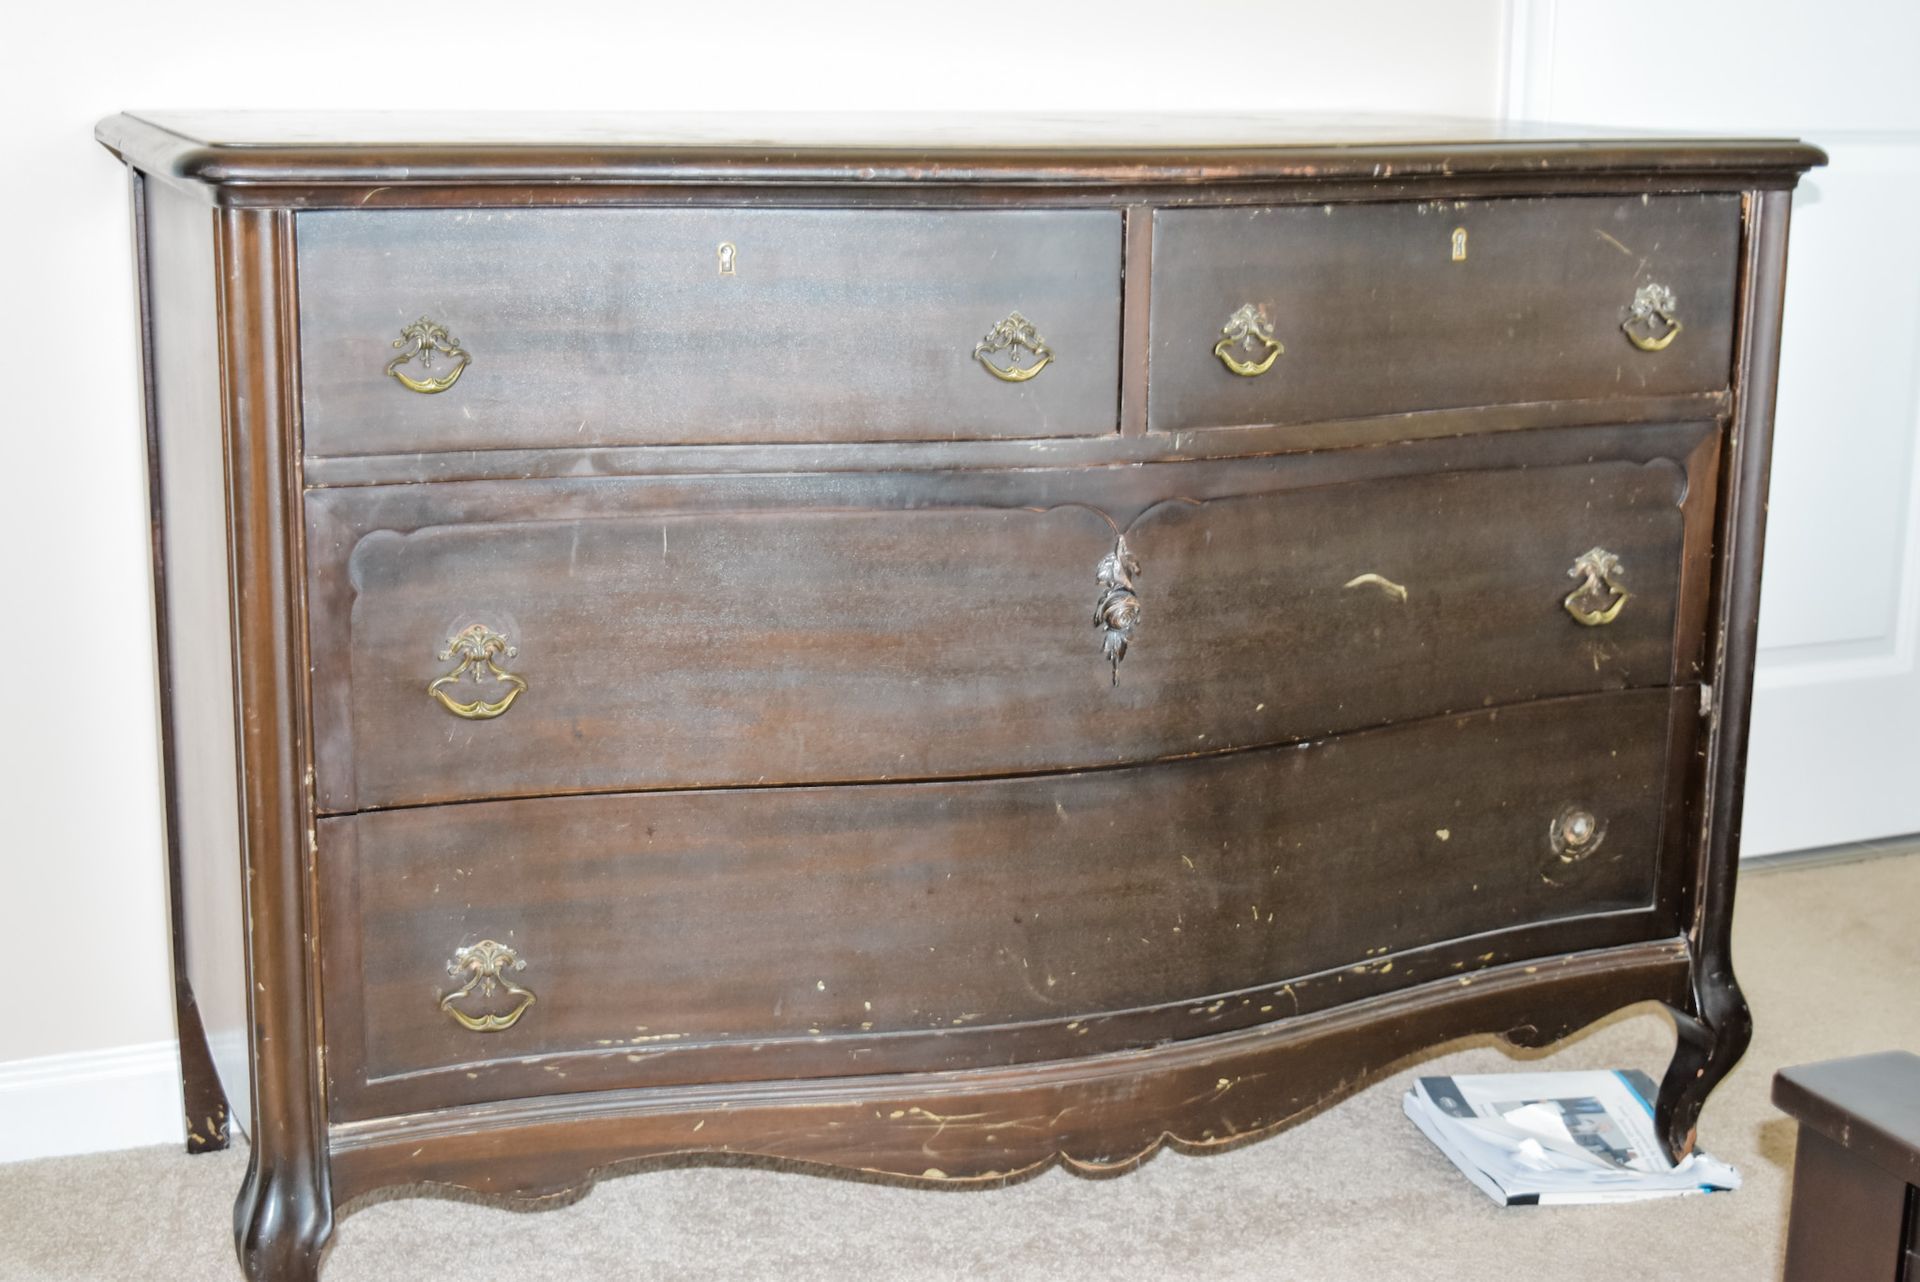
As you can see, this dresser is very well-loved. If you look closely, it has gouges and water damage. I had to sand the water damaged spots to remove them, but I left the minor flaws and scrapes alone. The dresser is over a hundred years old, and I love that it has unique character flaws.
For this project, I used the same technique that I did for my kitchen table makeover, because I ended up loving the final result.
What You Will Need
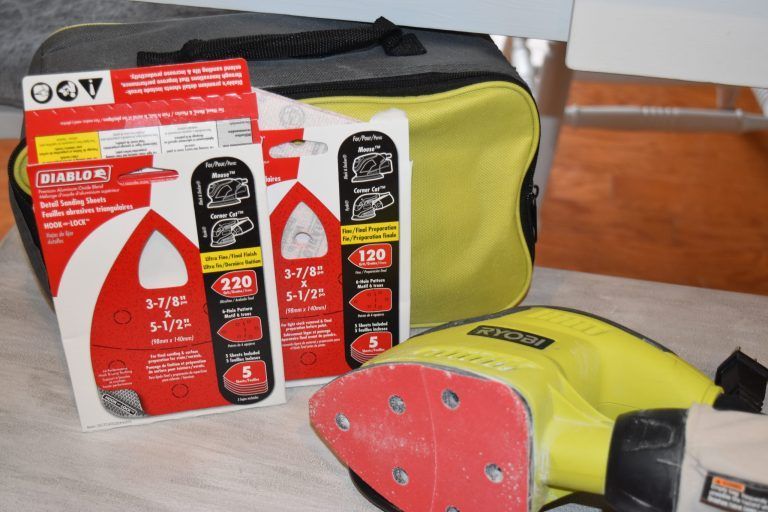
- Power sander, or a sanding tool
- Rustoleum chalk paint in Linen White, Country Gray & Charcoal (see picture below!)
- Old white T-shirts, cut up into sections
- Plastic cups or a paint holder (I used plastic cups and spoons and tossed them when I was done)
- Brushes
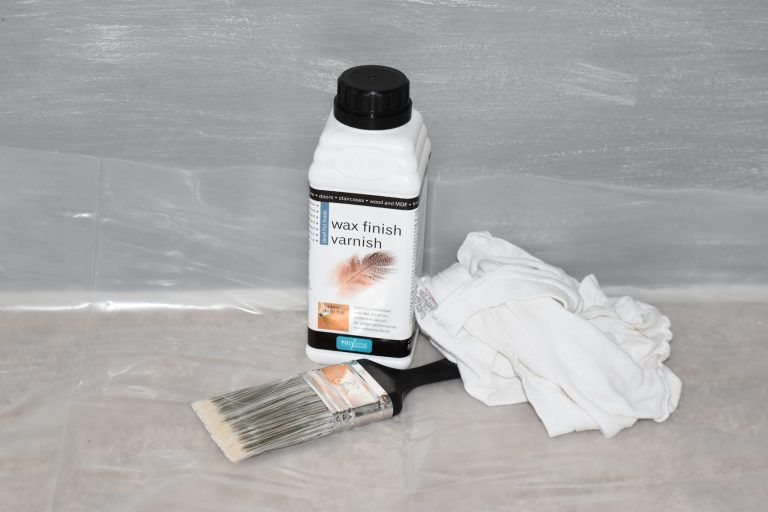
- Polyvine wax finish varnish

Let's Go!
1 – First off, I took everything out of the drawers, removed the hardware, and sanded the drawers and main dresser. I used my power sander with 220 grit paper for sanding each piece. I gave extra love and attention to the water stains, making sure not to over sand those areas. The idea was to remove the stains as much as possible but not make the wood uneven in any area.
2 – Next I used soap and water and wiped the entire dresser to remove any sanding dust. I did this a few times to really clean the entire thing.
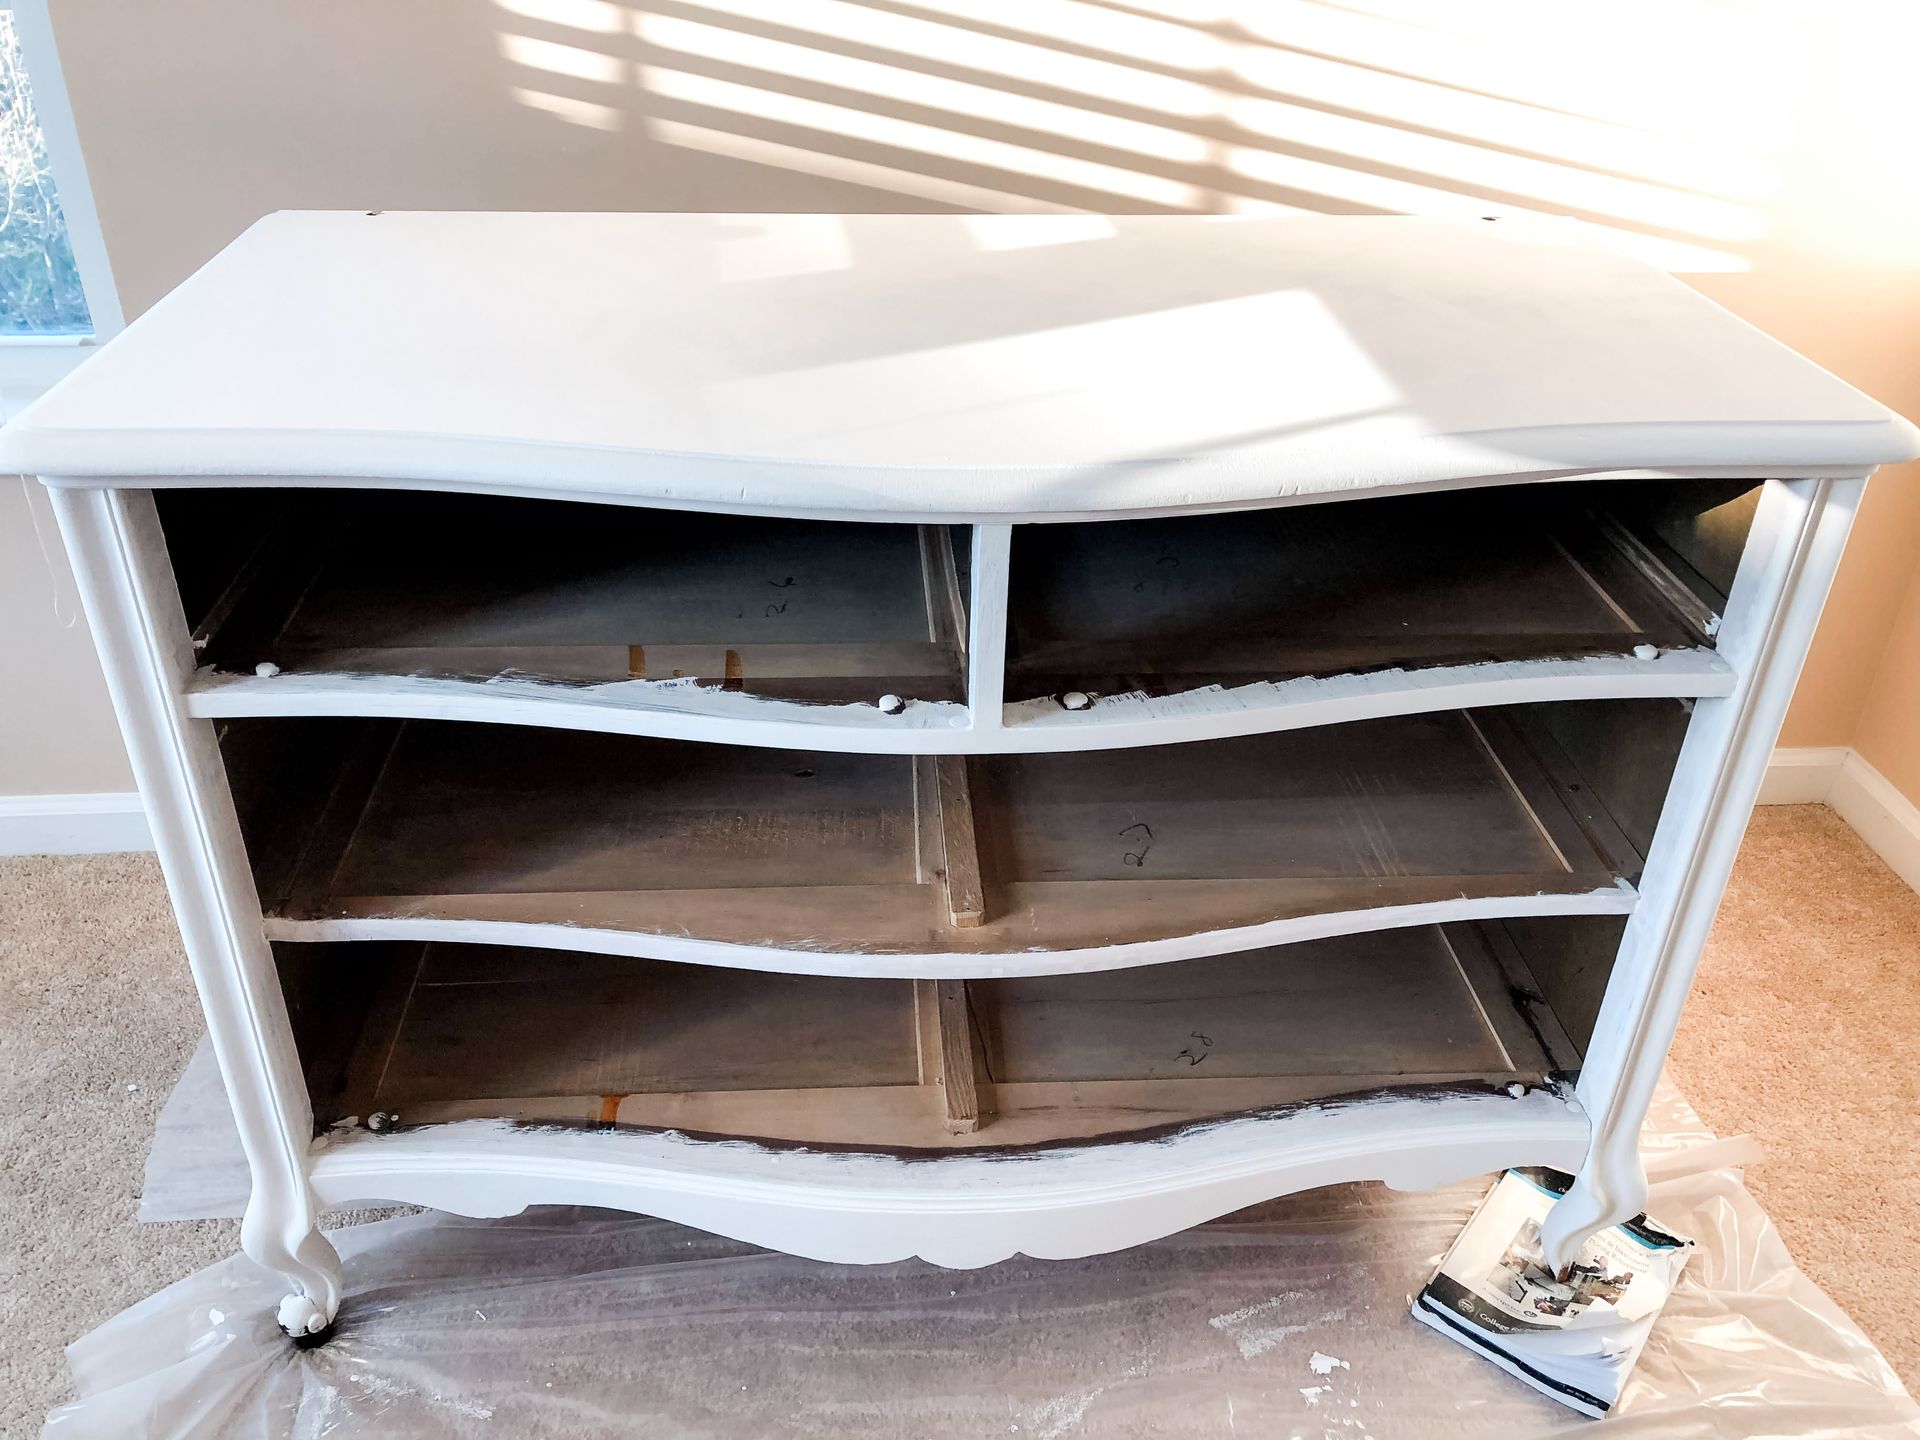
3 – I started by painting everything with Rustoleum chalk paint in linen white as my base coat. I ended up doing 3 coats of paint because the old wood needed extra love.
Three coats later…
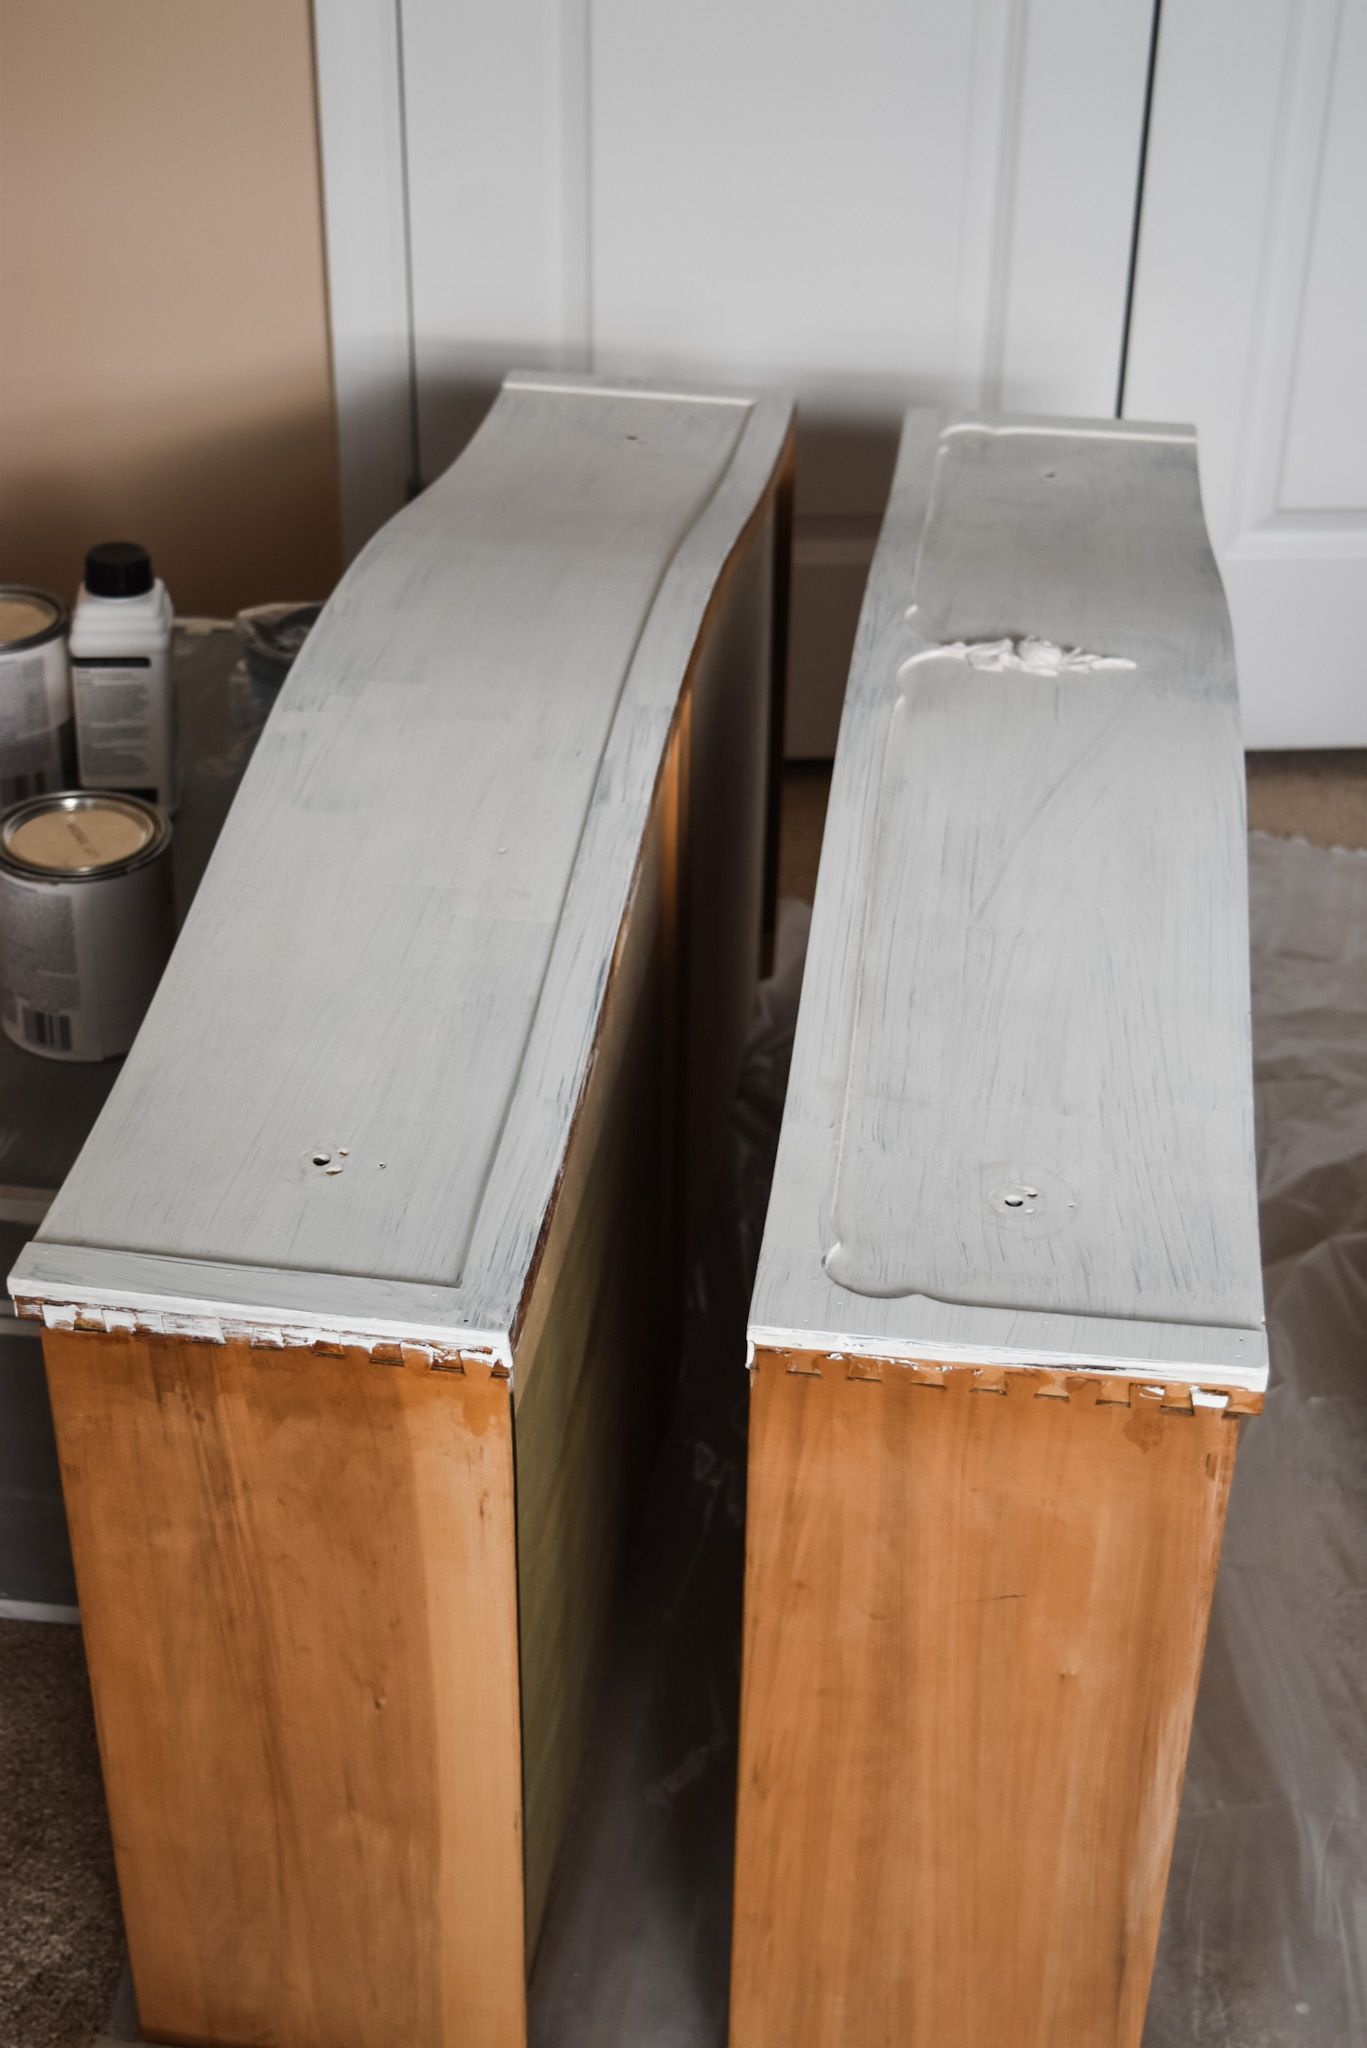
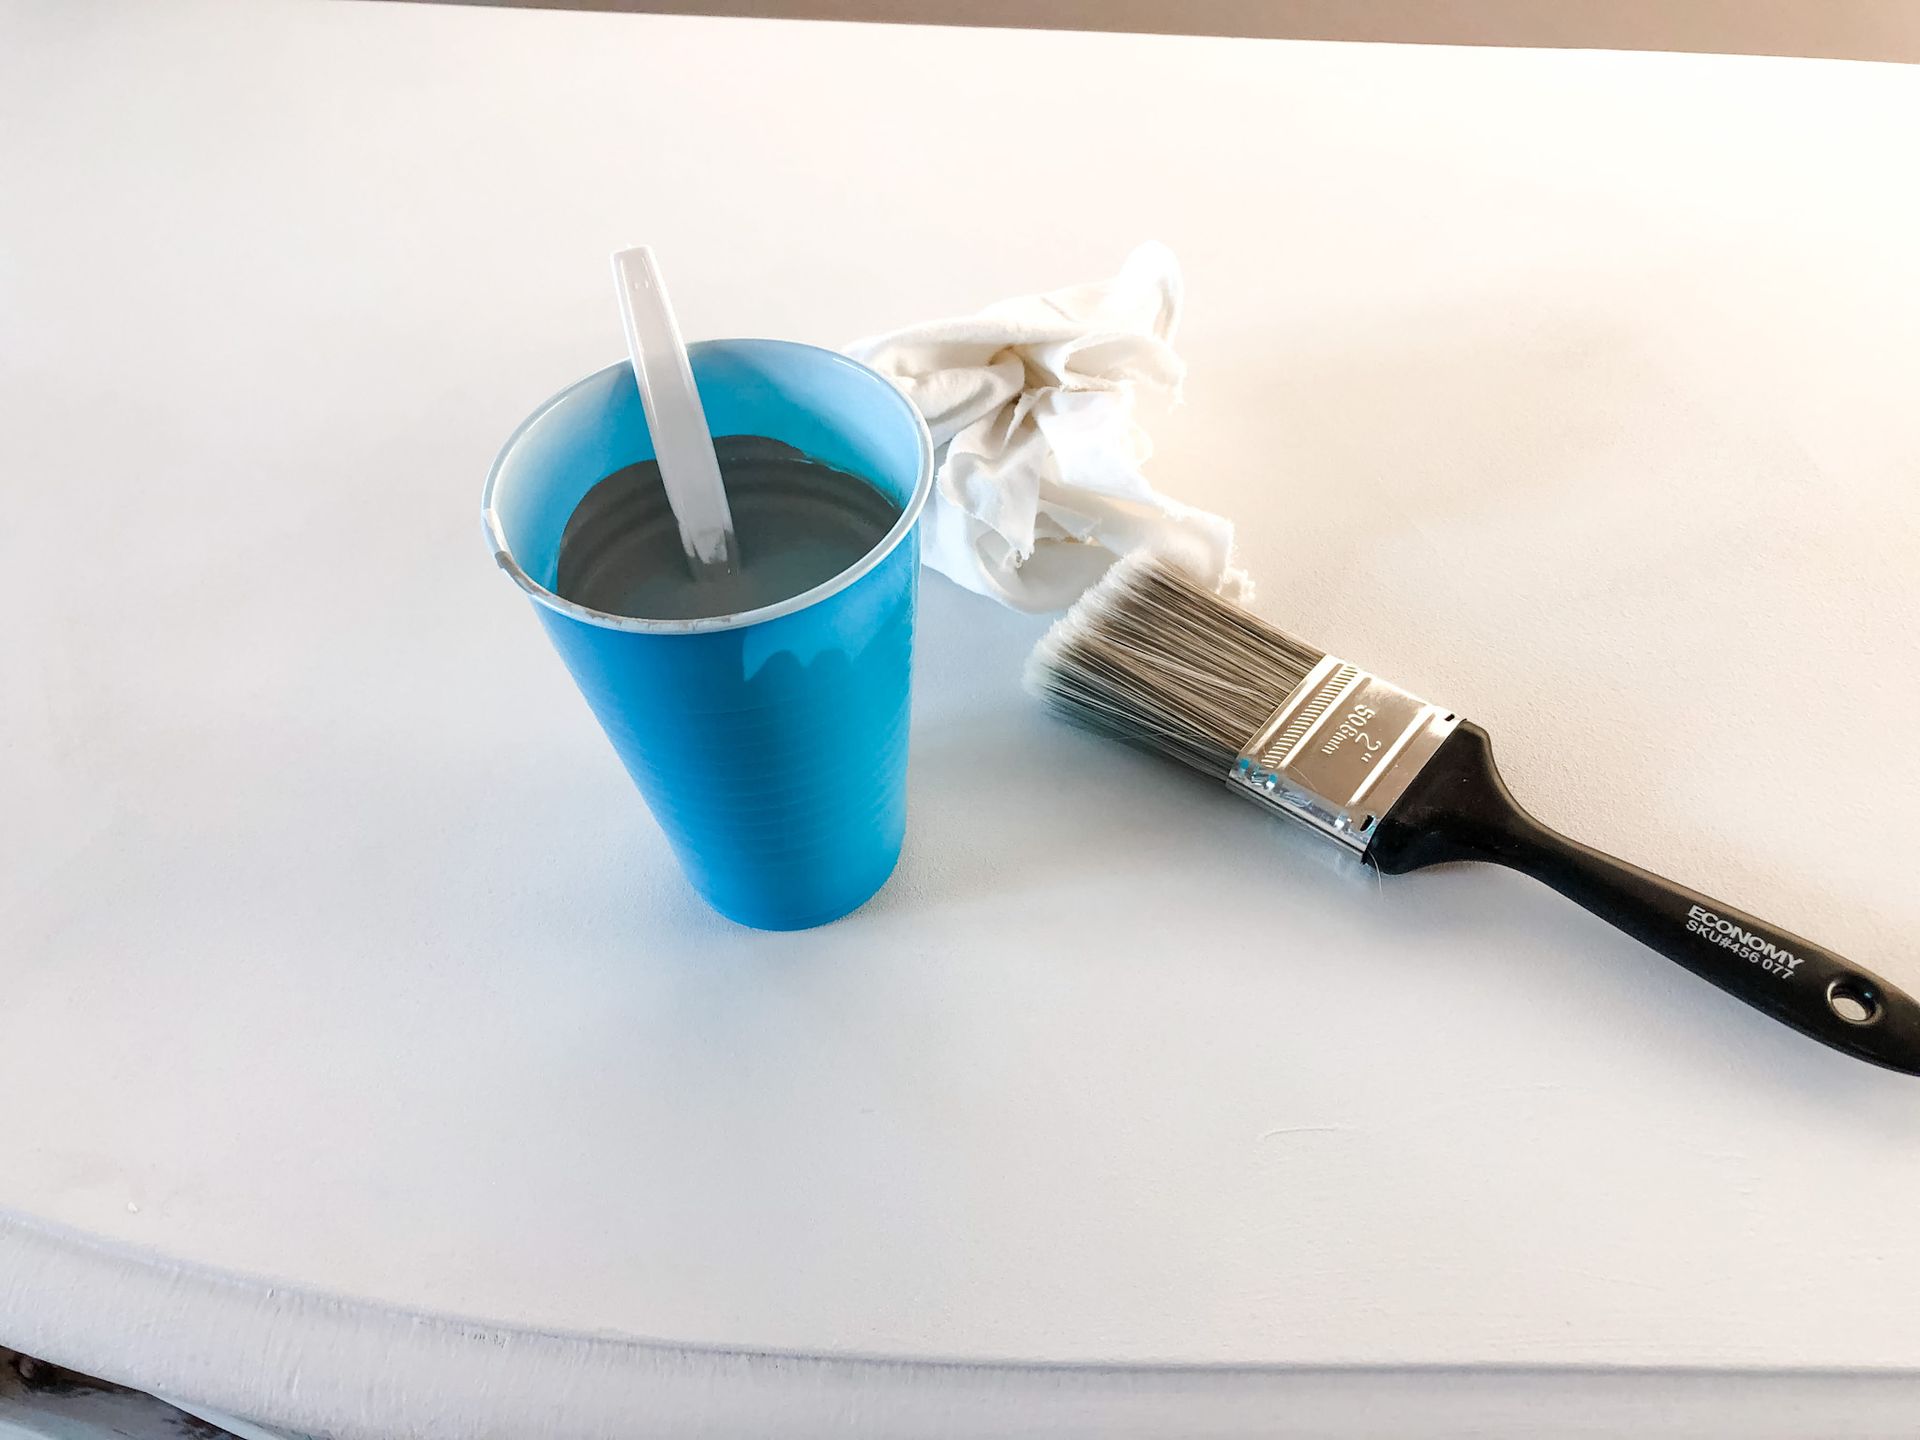
4 – After applying the linen white, I mixed two cups of paint. In one plastic cup I mixed linen white with the country gray. And in the other cup I mixed country gray with a little bit of linen white and a little bit of charcoal gray. I spent time playing with the colors until I got the exact shades I liked.
5 – Next, I worked in small sections, brushing on both colors from my cups, and then wiped each section with the old T-shirt until I got the look I wanted. I spent time playing with each section of the dresser to create the right overall texture I was looking for.
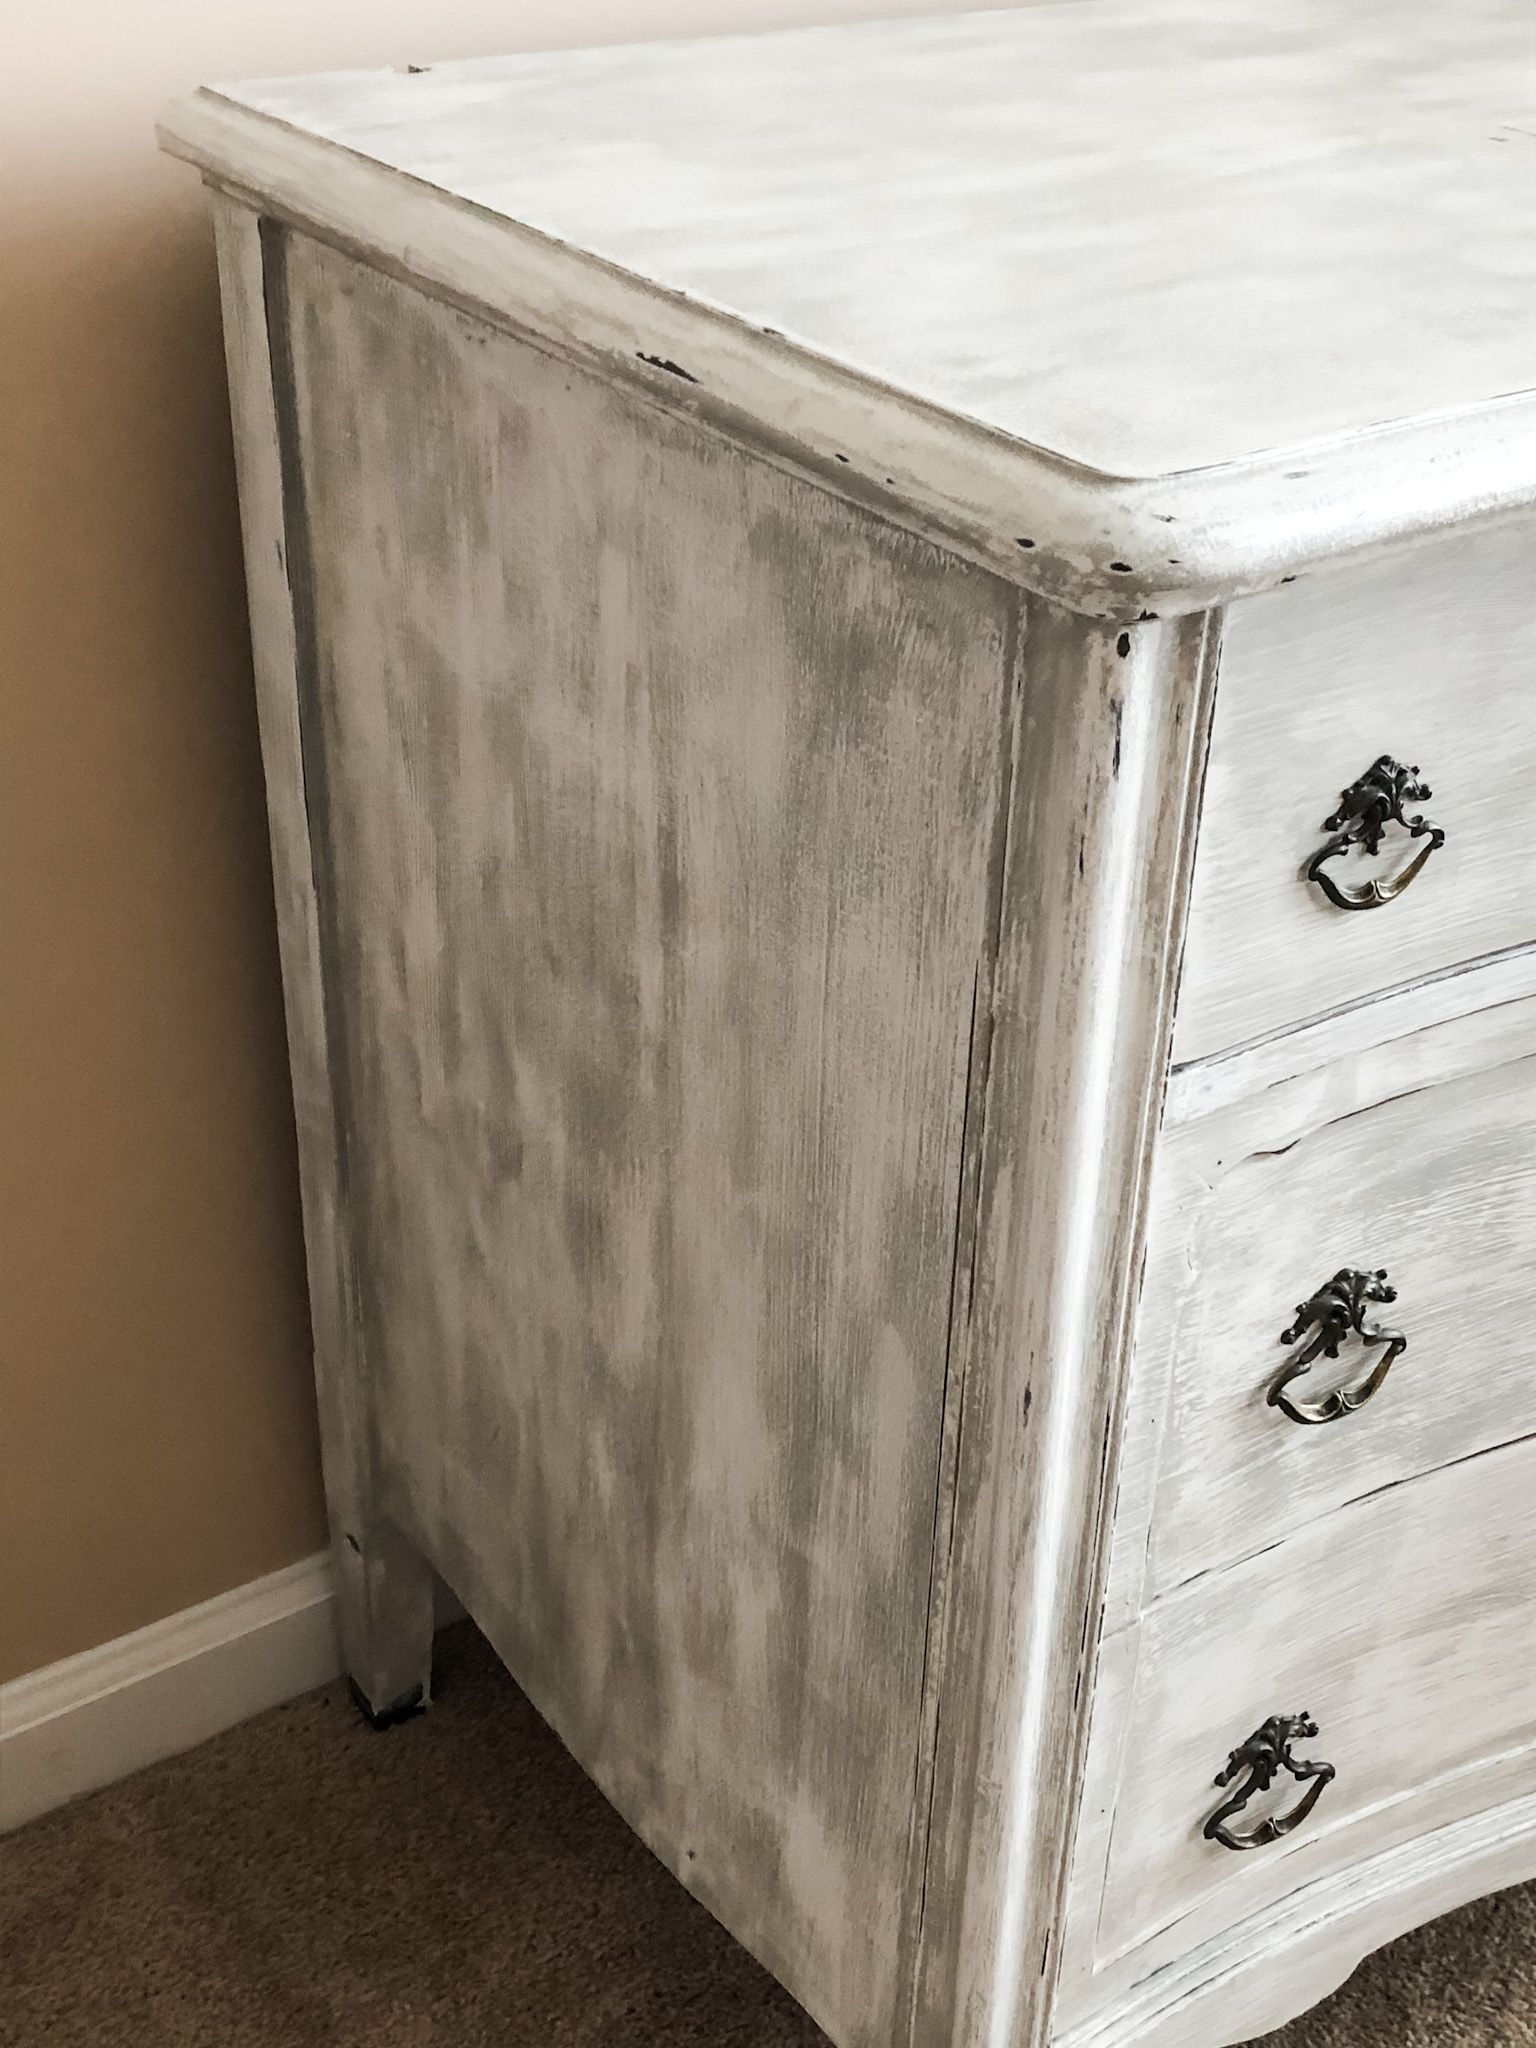
6 – Before applying the top coat, I sanded every piece again to create a distressed look and smooth out the paint.
7 – To seal my dresser, I used the Polyvine wax finish varnish. I brushed on 3 coats, waiting a half day between applications. This is my favorite finish for chalk paint because it gives furniture a glossy finish without the high maintenance of wax.
8 – Finally, I put the dresser back together and added the hardware. I deliberated between painting the hardware or replacing it altogether. In the end I left it as is. The handles are weathered and worn, and they’re original. I ended up liking the antique brass with the gray paint.
That’s It!
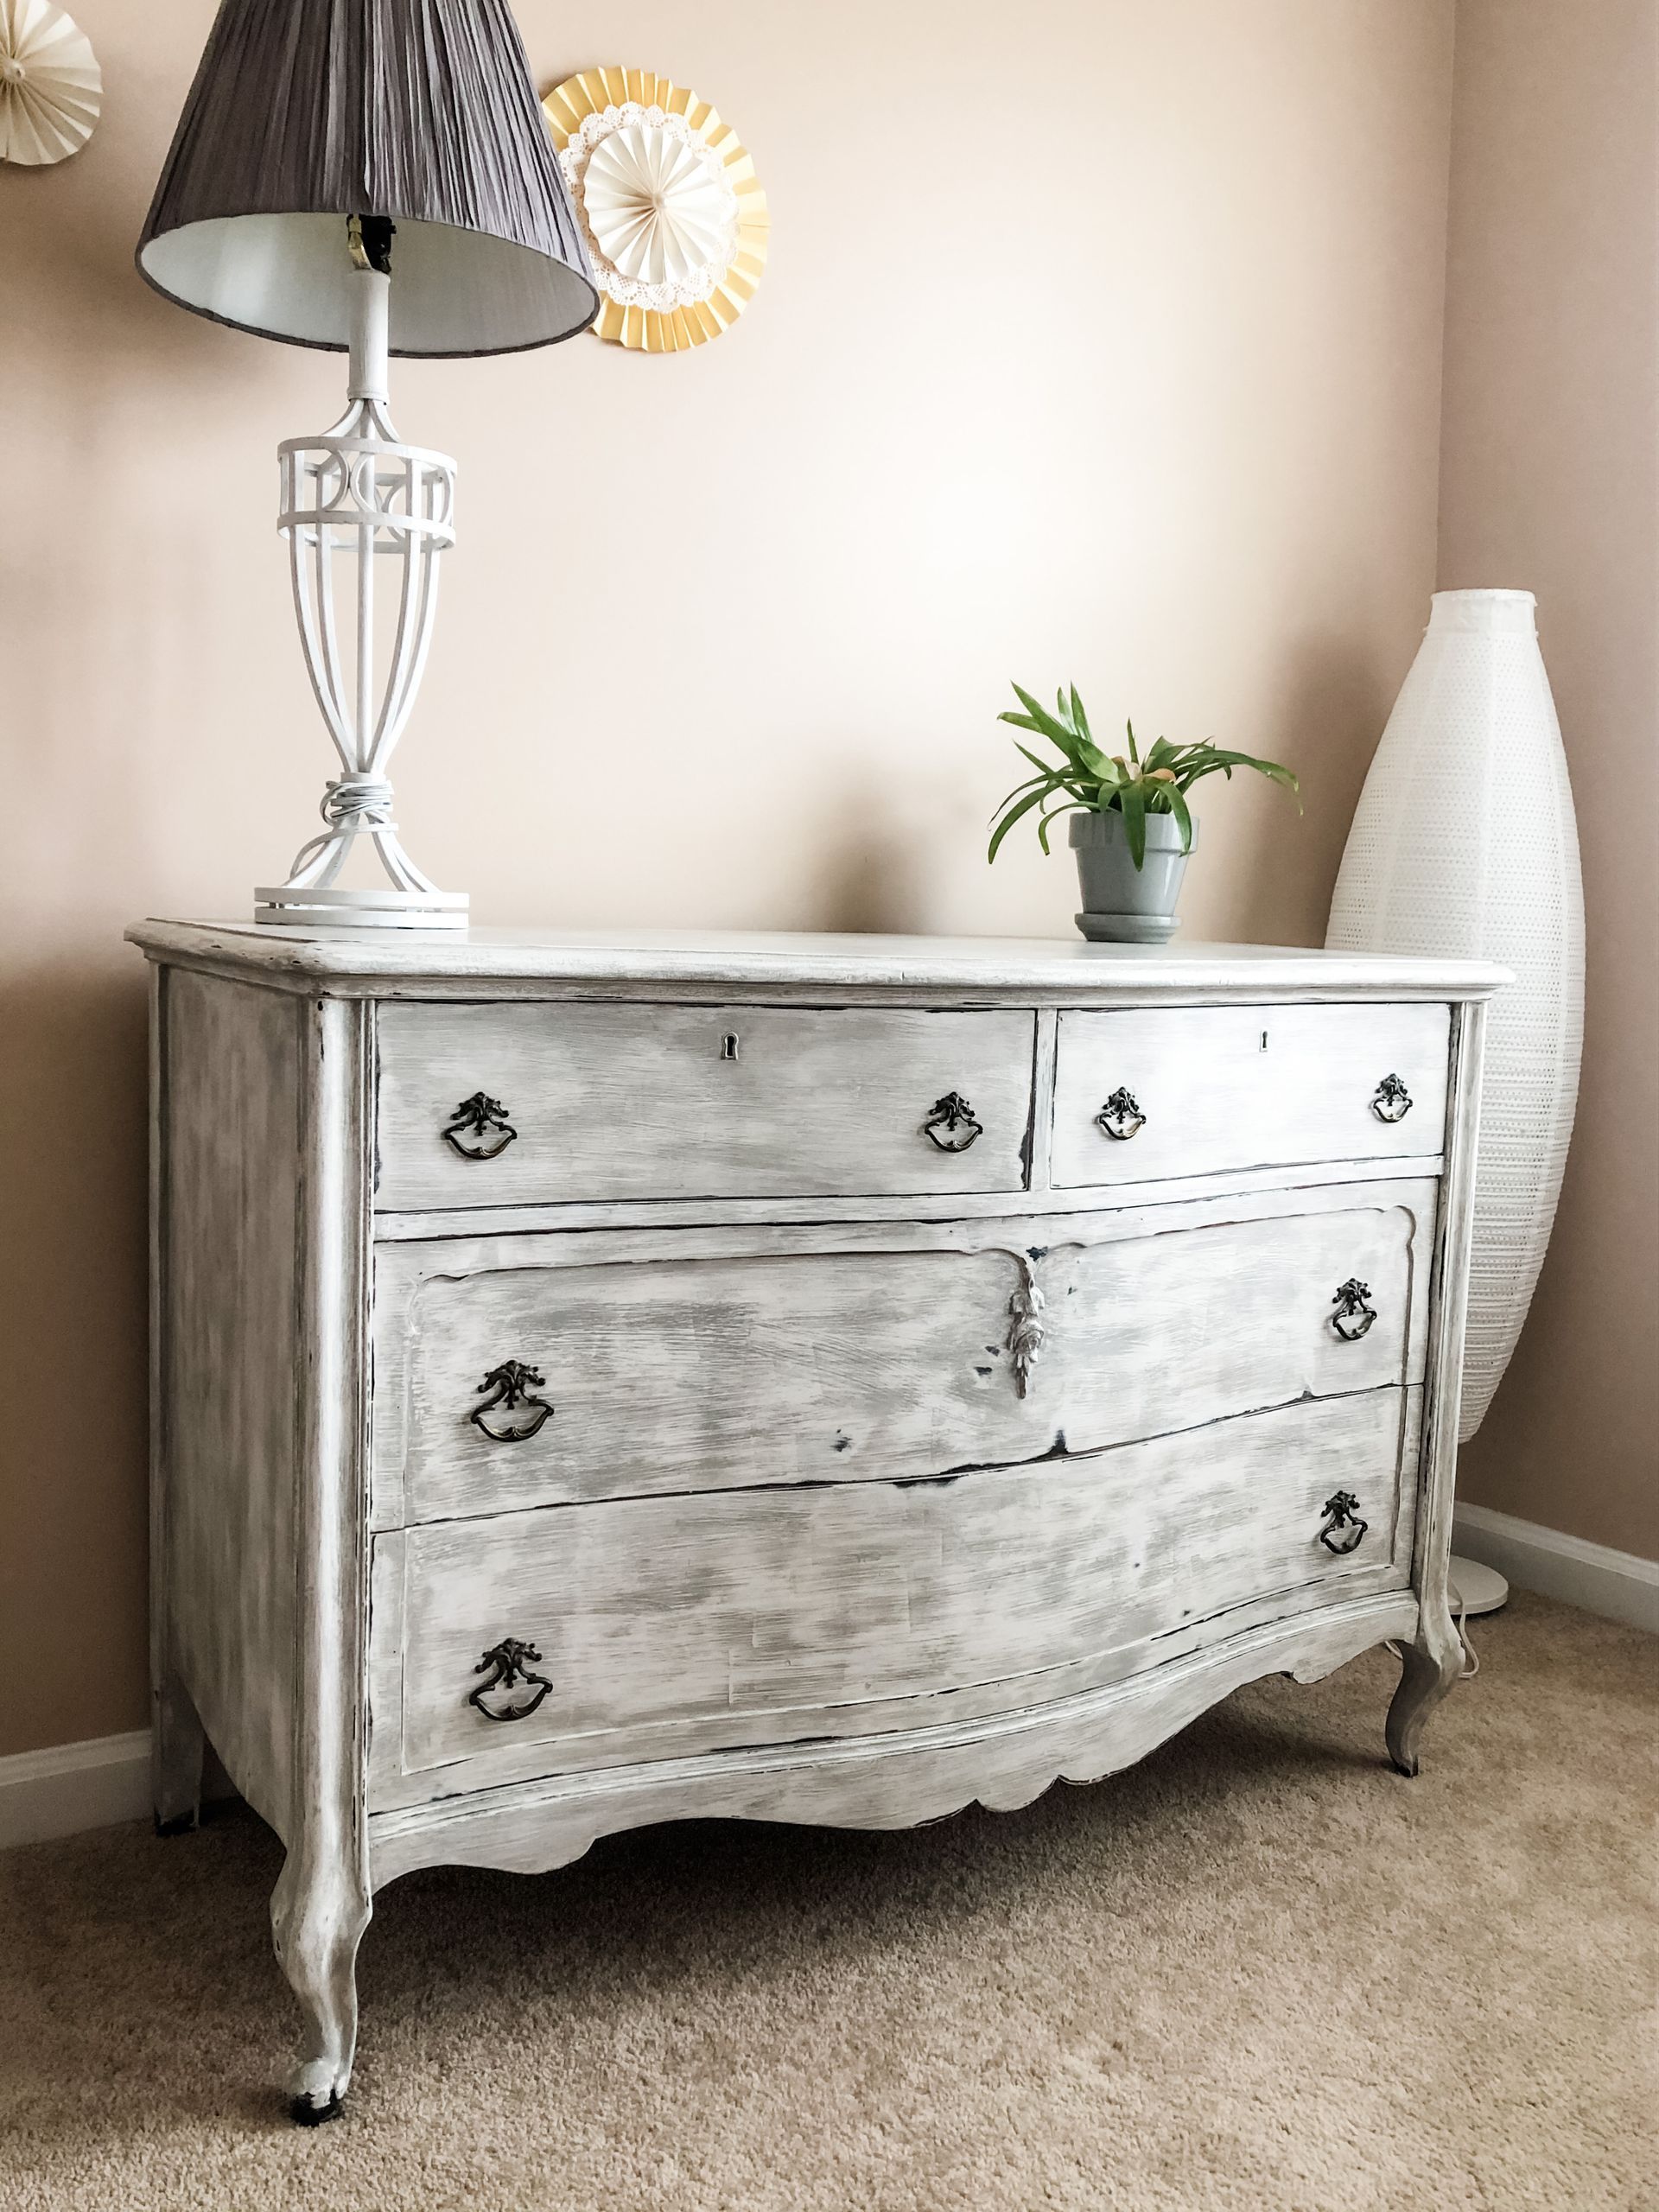

I let the dresser sit in a corner for a few weeks before we used it. I can confidently say that it has held up really well and 1 year later, the paint isn’t chipping at all.
If you try this chalk painting technique for your dresser, let me know! I would love to hear from you and how your project turned out.
With joy, Jessica
Please note that this blog post includes affiliate links from Amazon. If you do choose to purchase something, I may earn a small commission – at no additional cost to you. All thoughts and opinions expressed in this post are entirely my own. Thank you for your support!


Follow along
For encouraging words and to read what the Lord is saying to me lately